
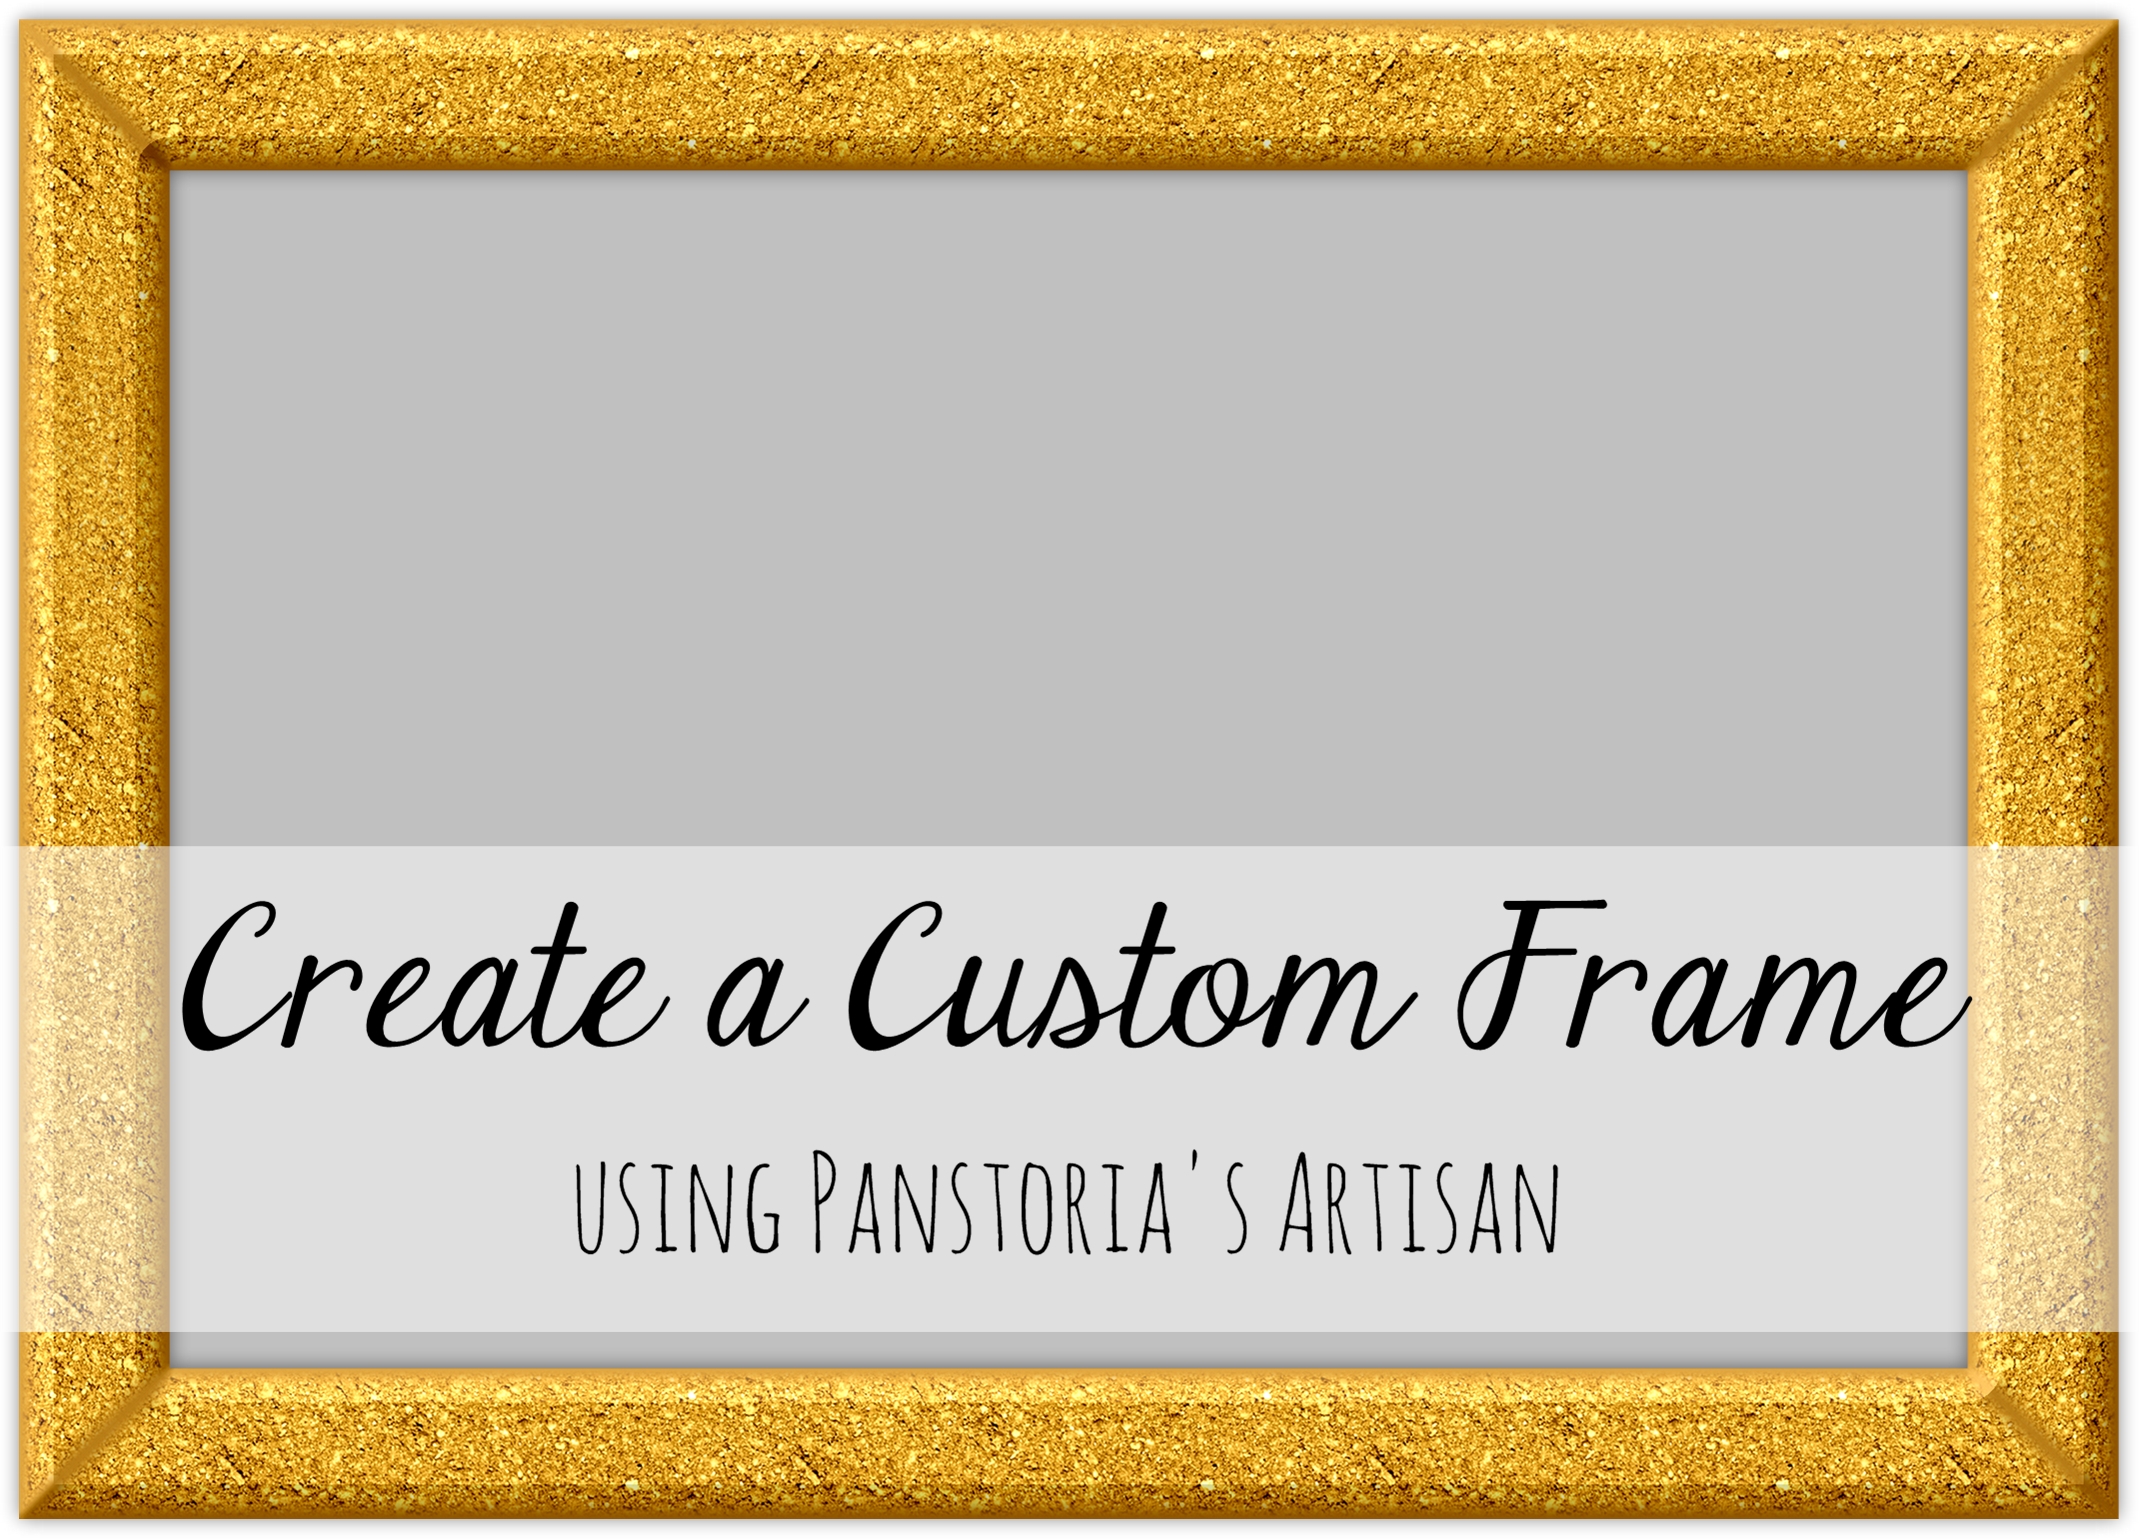
Tags
 Create a blue rectangle that is 5″ x 7″, and a pink one that is 4″ x 6″. Align them horizontally and vertically and then flatten.
  Using the wand, delete the pink rectangle. This is now the template.
Insert a pink rectangle that is 1/2″ x 7″. Align it with the left side of the template.
Insert a yellow right triangle and make it 1/2″ square. Duplicate it and align both as shown. Flatten the triangles to the pink strip. Using the wand, cut the triangles away.
  Change the color and surface texture of the pink strip to suit your layout. This example is glittery gold. The color is from the skin color options and then using the HSB (Hue/Saturation/Brightness) option, I made it a bit more goldish. I changed the surface to Block and made the contrast 10 to make it look glittery.
 Make a copy of the left side frame piece and align it with the original piece. Edit the top piece, using the image filter, to soften the edge to 25. Select the bottom piece and change the color to the darkest color that is in this image. You can use the HSB option to make it a little bit darker so it will contrast with the top piece. Now the piece has a little bit of a dark frame around the edges. Flatten the two gold pieces together. (This method of framing an element is explained here.)
Copy the left side piece and flip the second piece horizontally and align it with the right side of the blue template. Duplicate it again, rotate it 90° and align it with the top, left corner of the blue frame. Select the top piece, click Cut & Fill, straight, blended edge, and make a fairly wide blended cut in the middle of this top, horizontal piece. Select Keep Both Pieces before selecting Cut. Align the left piece on the left side of the blue frame and the right piece on the right side of the blue frame. Flatten the two pieces together to form the horizontal 5” part of the frame. Duplicate this new piece, flip it and align it at the bottom of the blue template.
Select the blue frame template and make it the same color as the edge of the frame (should be the most recent color used). Flatten all five pieces together. Using the image filter, add a 3-D edge. The one shown here is: amount – 80, softness – 0, width – 35.
Click on format, shadow, and select the center option of heavy shadows. Flatten. Add shadowing to match the other elements on the page. Insert a 4.5″ x 6.5″ photo behind your custom frame. Of course, you can make your frame the size you want. A square frame would be a bit easier to make. Please let me know if you try this and then show me the final outcome!
