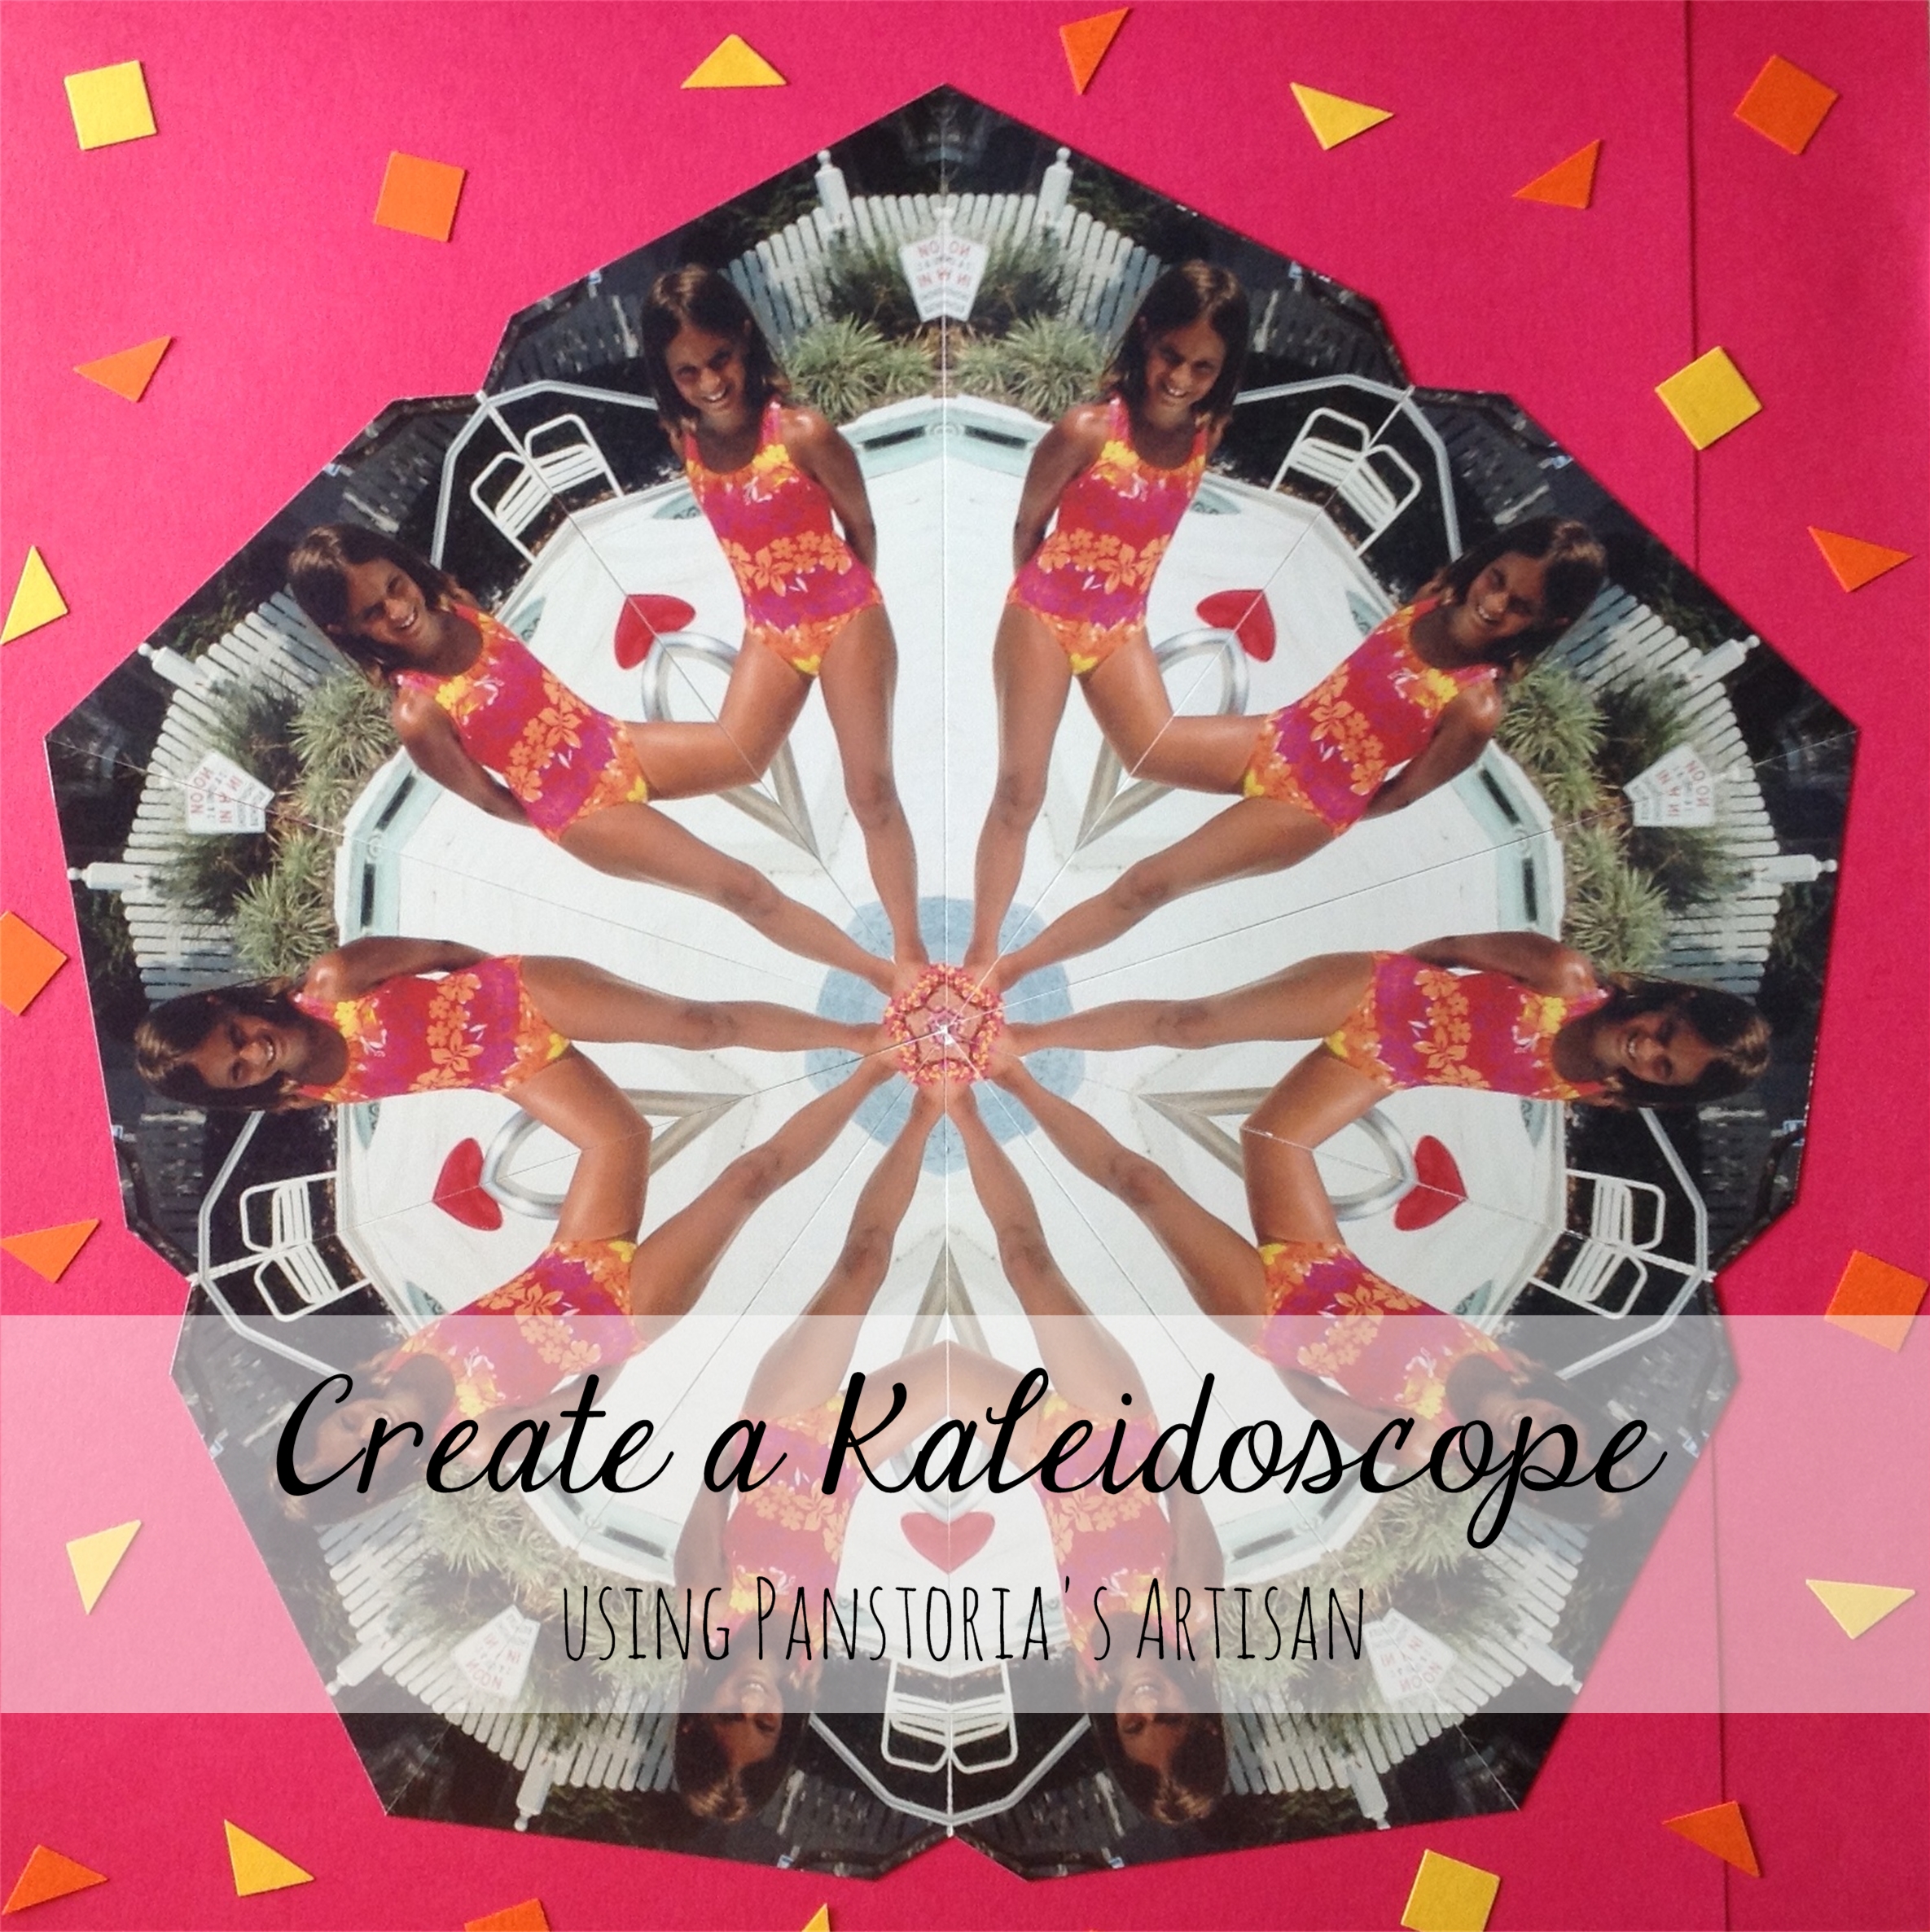
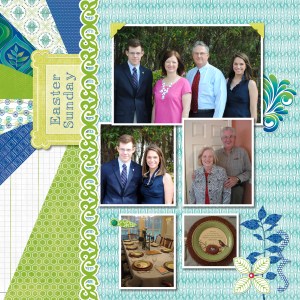
Nine years ago we went to the beach and I used this photo of my tanned beauty to make a kaleidoscope for the last page of her book. A kaleidoscope could be used for anything from filling the cover of a book to a small embellishment on a page. A page from a magazine inspired one page of my Easter layout this year and that started this whole kaleidoscope thing!
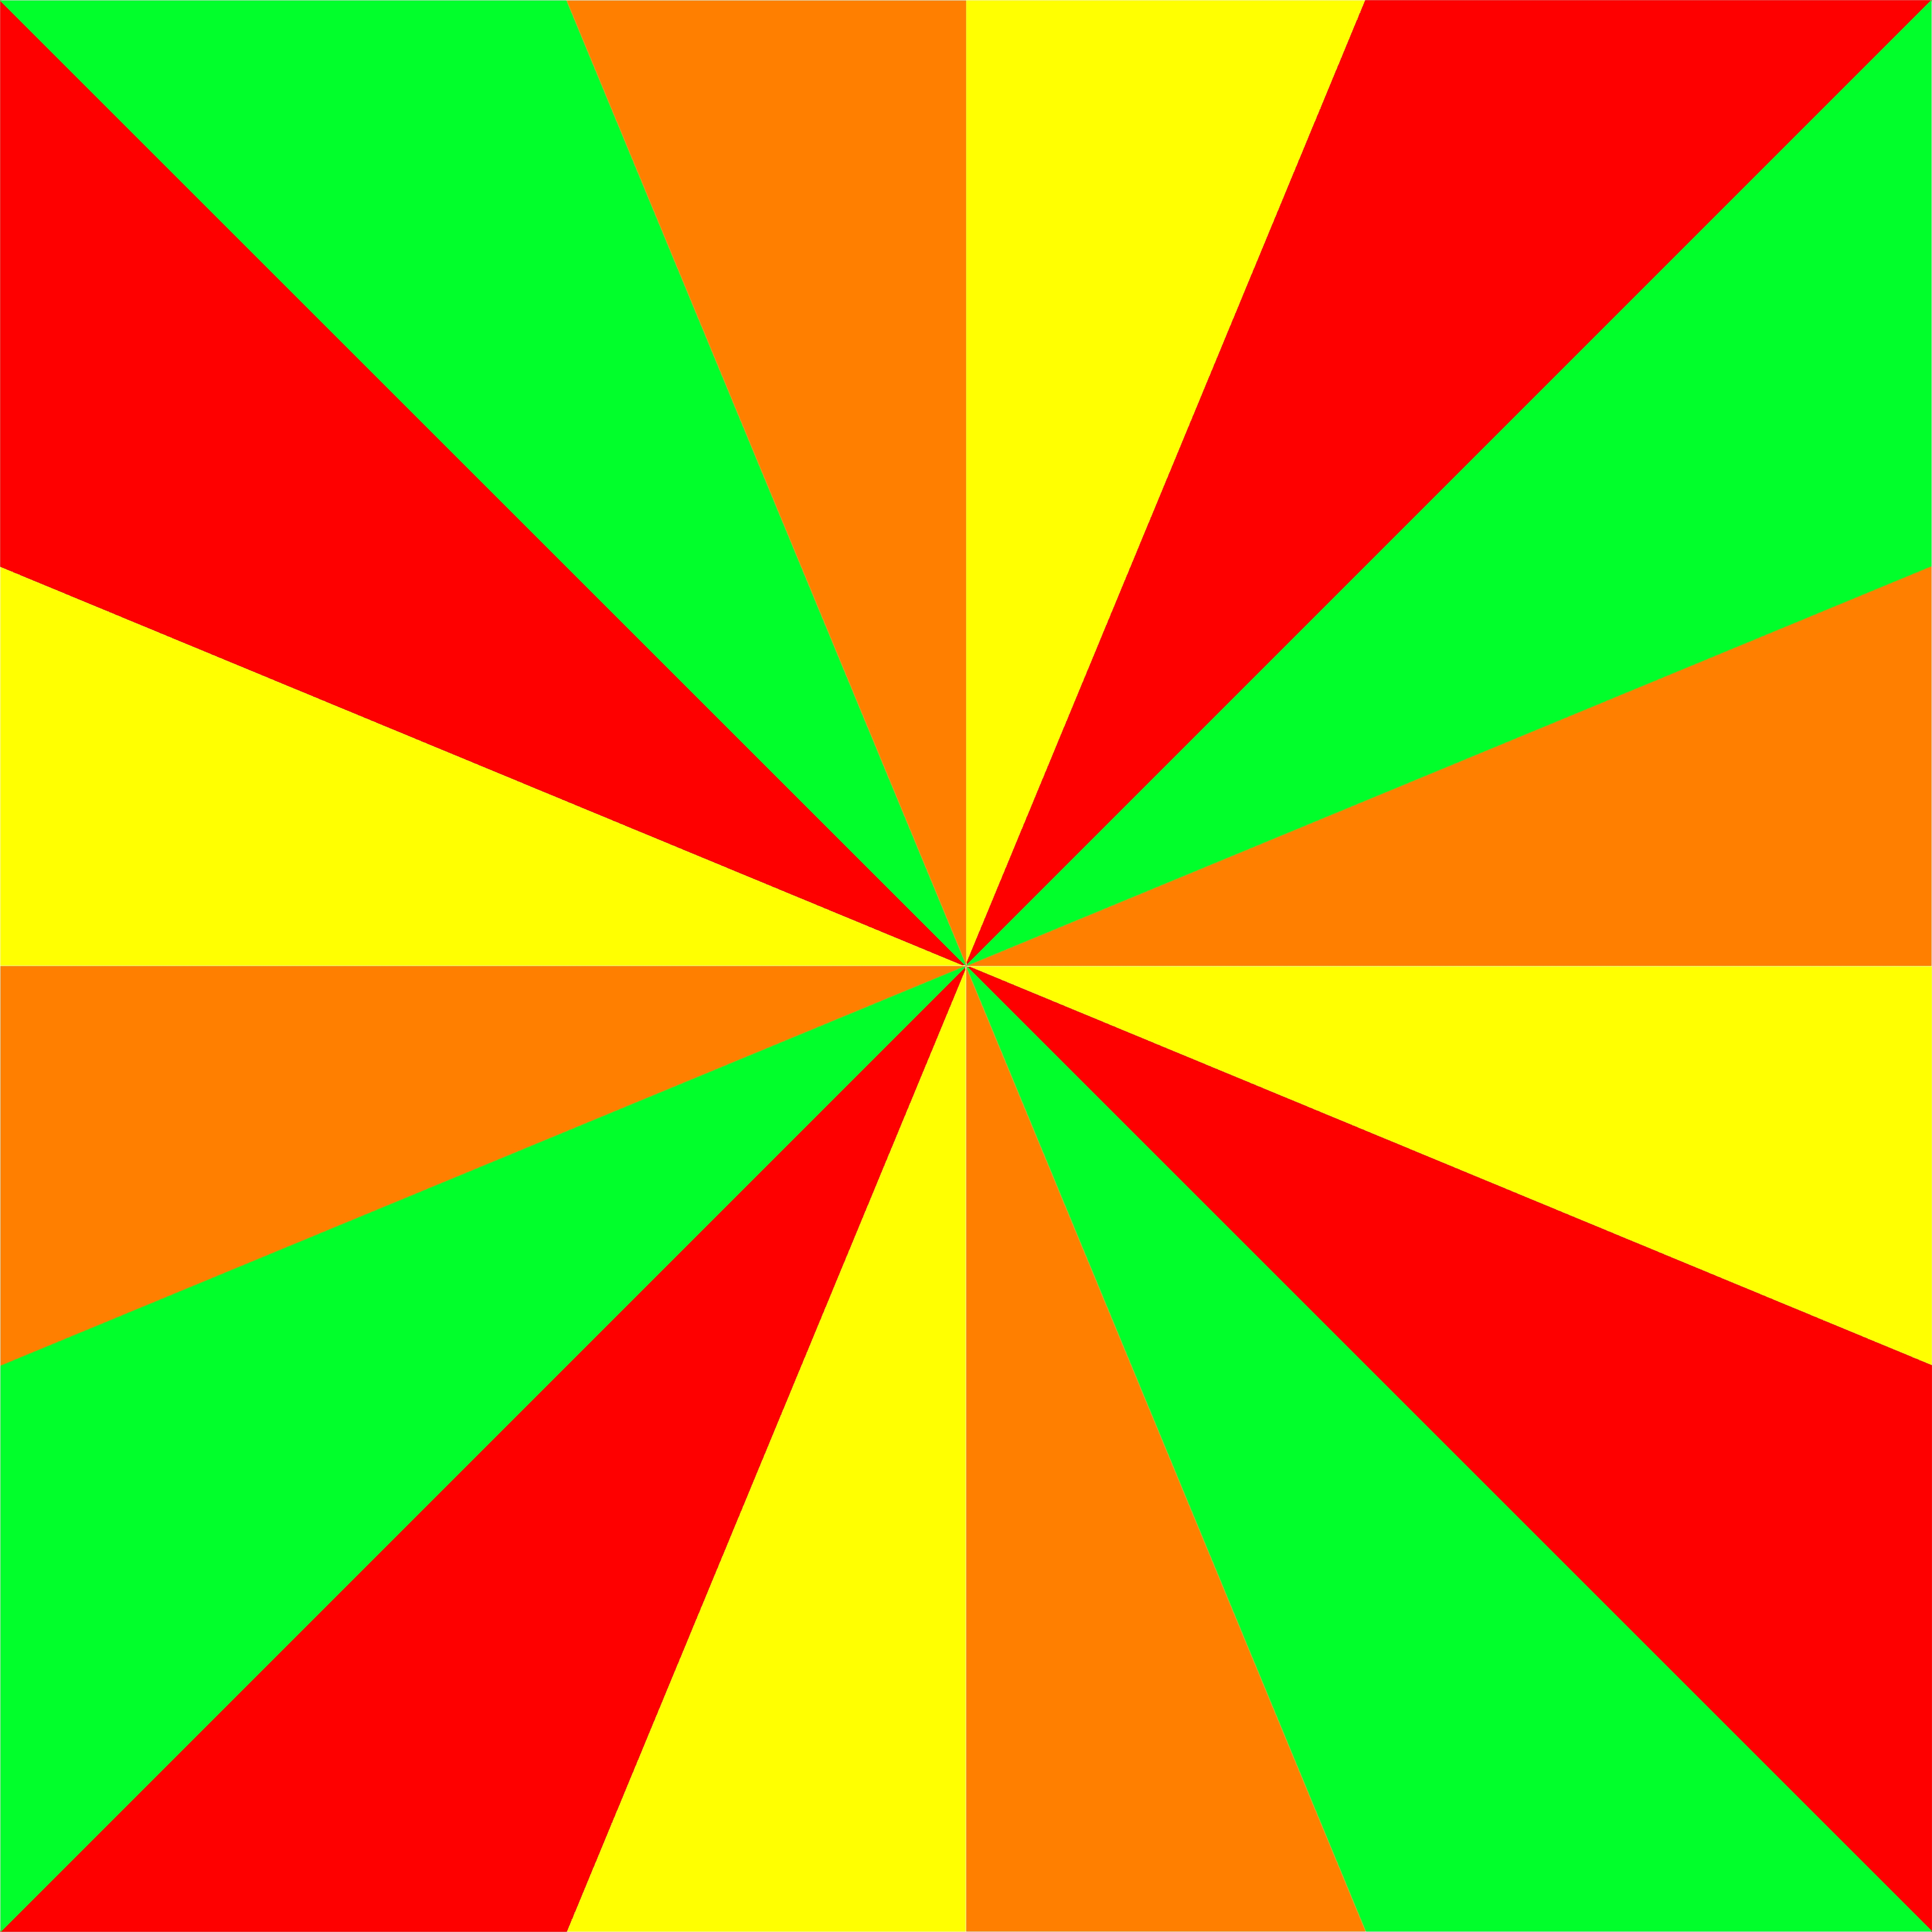
 Use these two templates to make your own designs. (Use the Wand in the Cut & Fill Tab to separate the colors and fill with paper or color.)


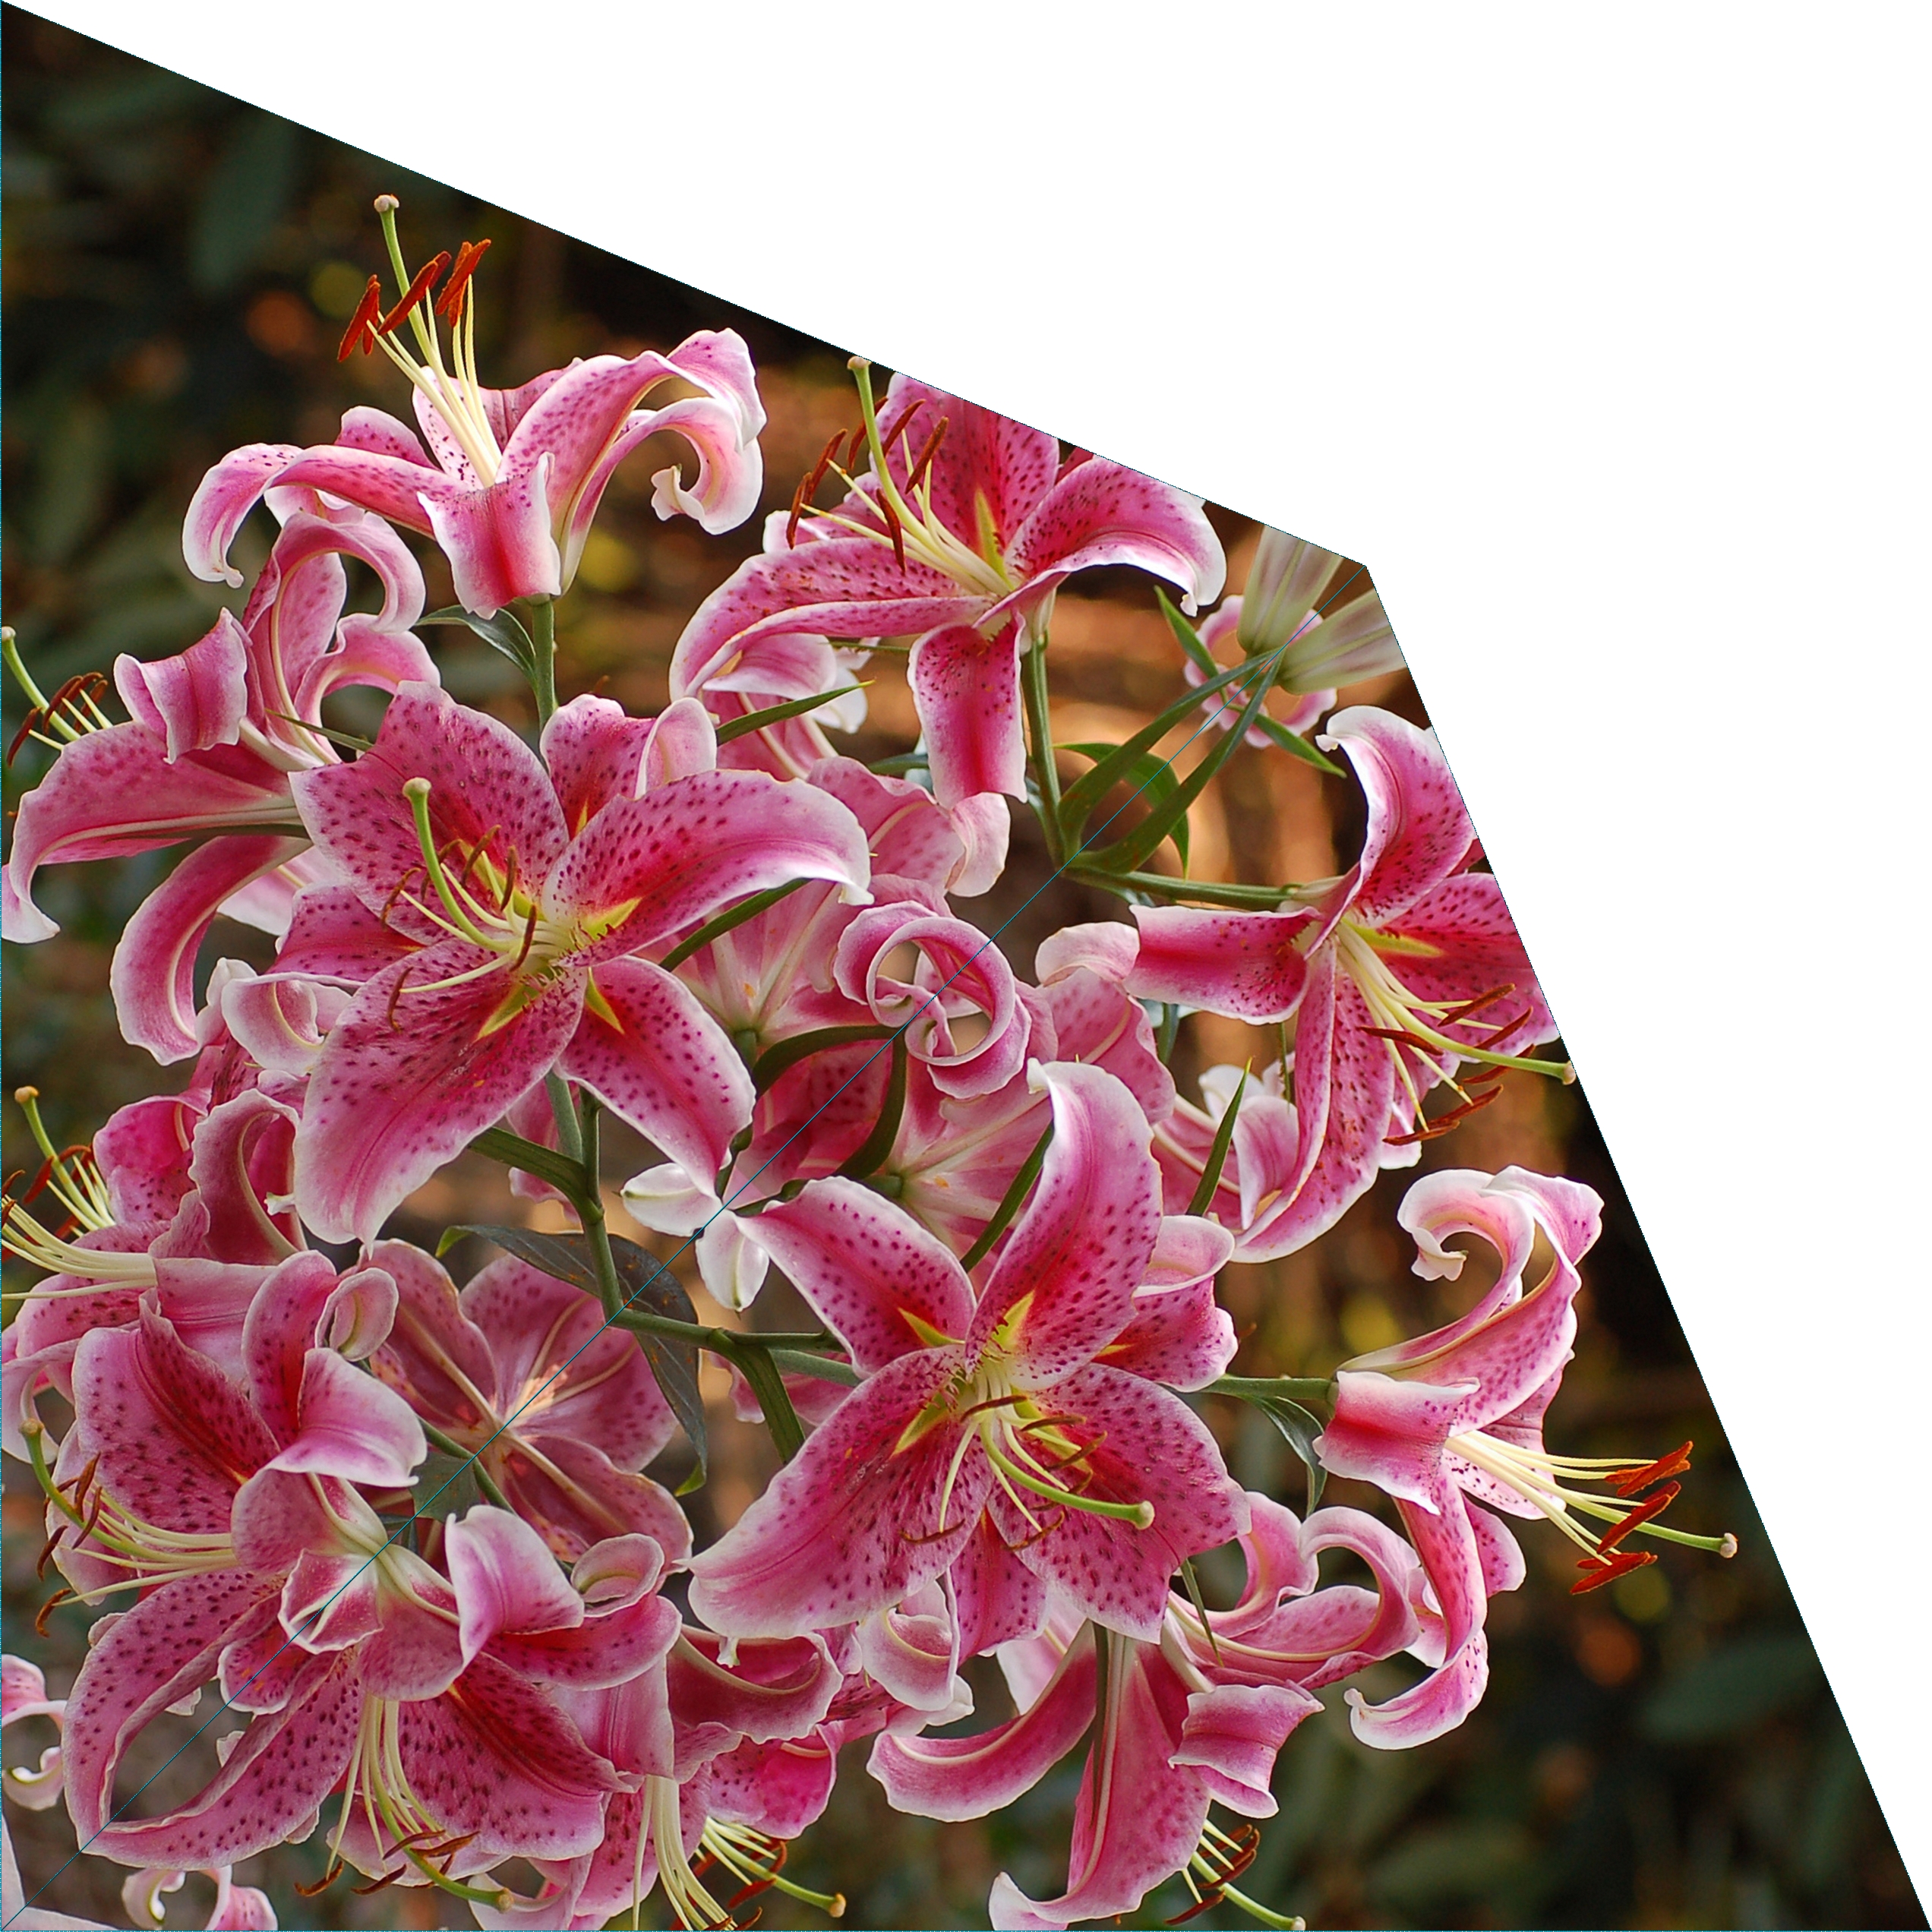
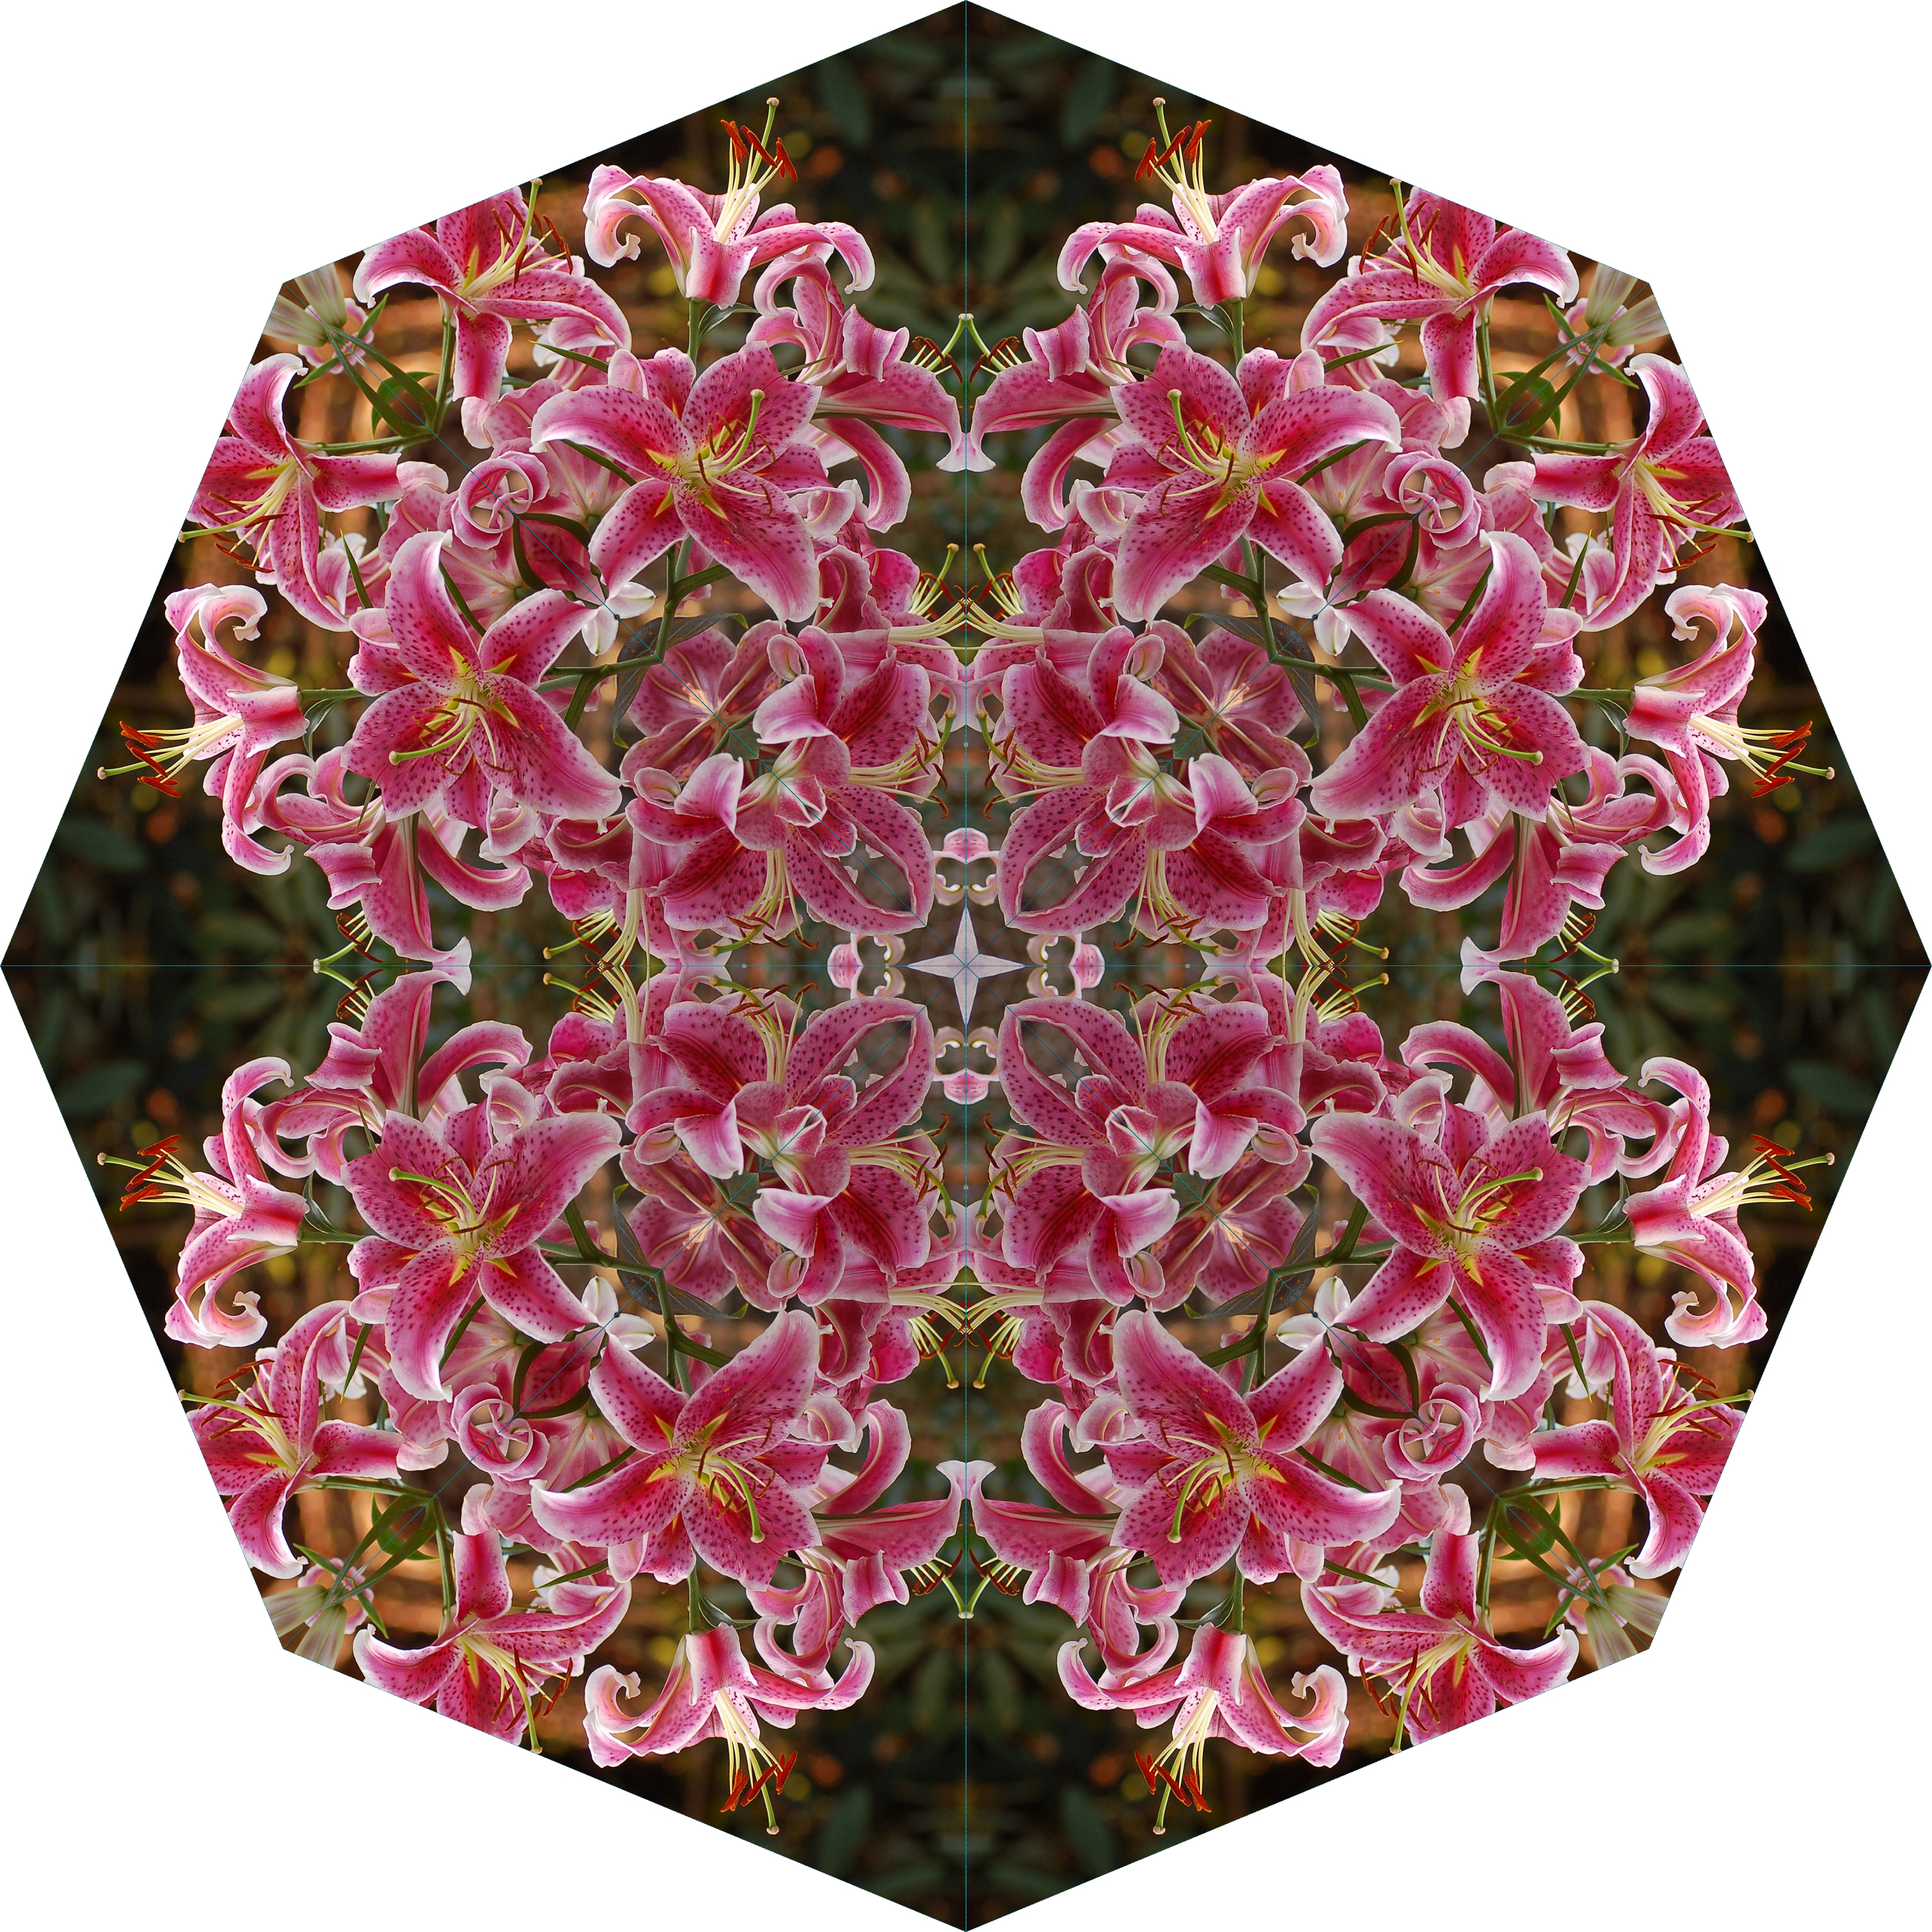
To make a photo kaleidoscope, download this template and remove the white triangle to create a negative (Cut & Fill Tab, Wand, select triangle, Cut). Change the color of the negative if your photo has a similar shade of blue in it. Choose a color that is very different from the colors in your photo to make sure the wand can do its job! Place the photo behind the negative and position it, rotating if necessary.
 Select the photo and the negative and flatten (Arrange Tab) them together. Wand away the negative. Duplicate the photo (Home Tab, Copy, Paste). Make the second photo a mirror image of the first and rotate it (Arrange Tab, Rotate Section, Flip Horizontally, rotate 90 clockwise). Flatten the second photo and line it up horizontally and vertically with the first photo (Arrange Tab, Align Left and Bottom). Flatten the two together.
 Duplicate the new set. Rotate the second set 90 degrees clockwise. Flatten. Line up with the first set. Line up on the left side using the Align option. Zoom in and use the arrows to position the two pieces to just meet. Flatten the two together. Duplicate the new piece (which is now half of the final project). Flip it horizontally. Line up the tops using the align tool. Zoom in and use the arrows to position the two pieces to just meet. Flatten the two together.
 There are a few different ways to finish the edge. You can leave it as is or save it as a photo (Right-click, Save Selection, Export to Image File and then bring it back onto the page as a photo from your computer) if you want to add a mat (see my previous post about that).
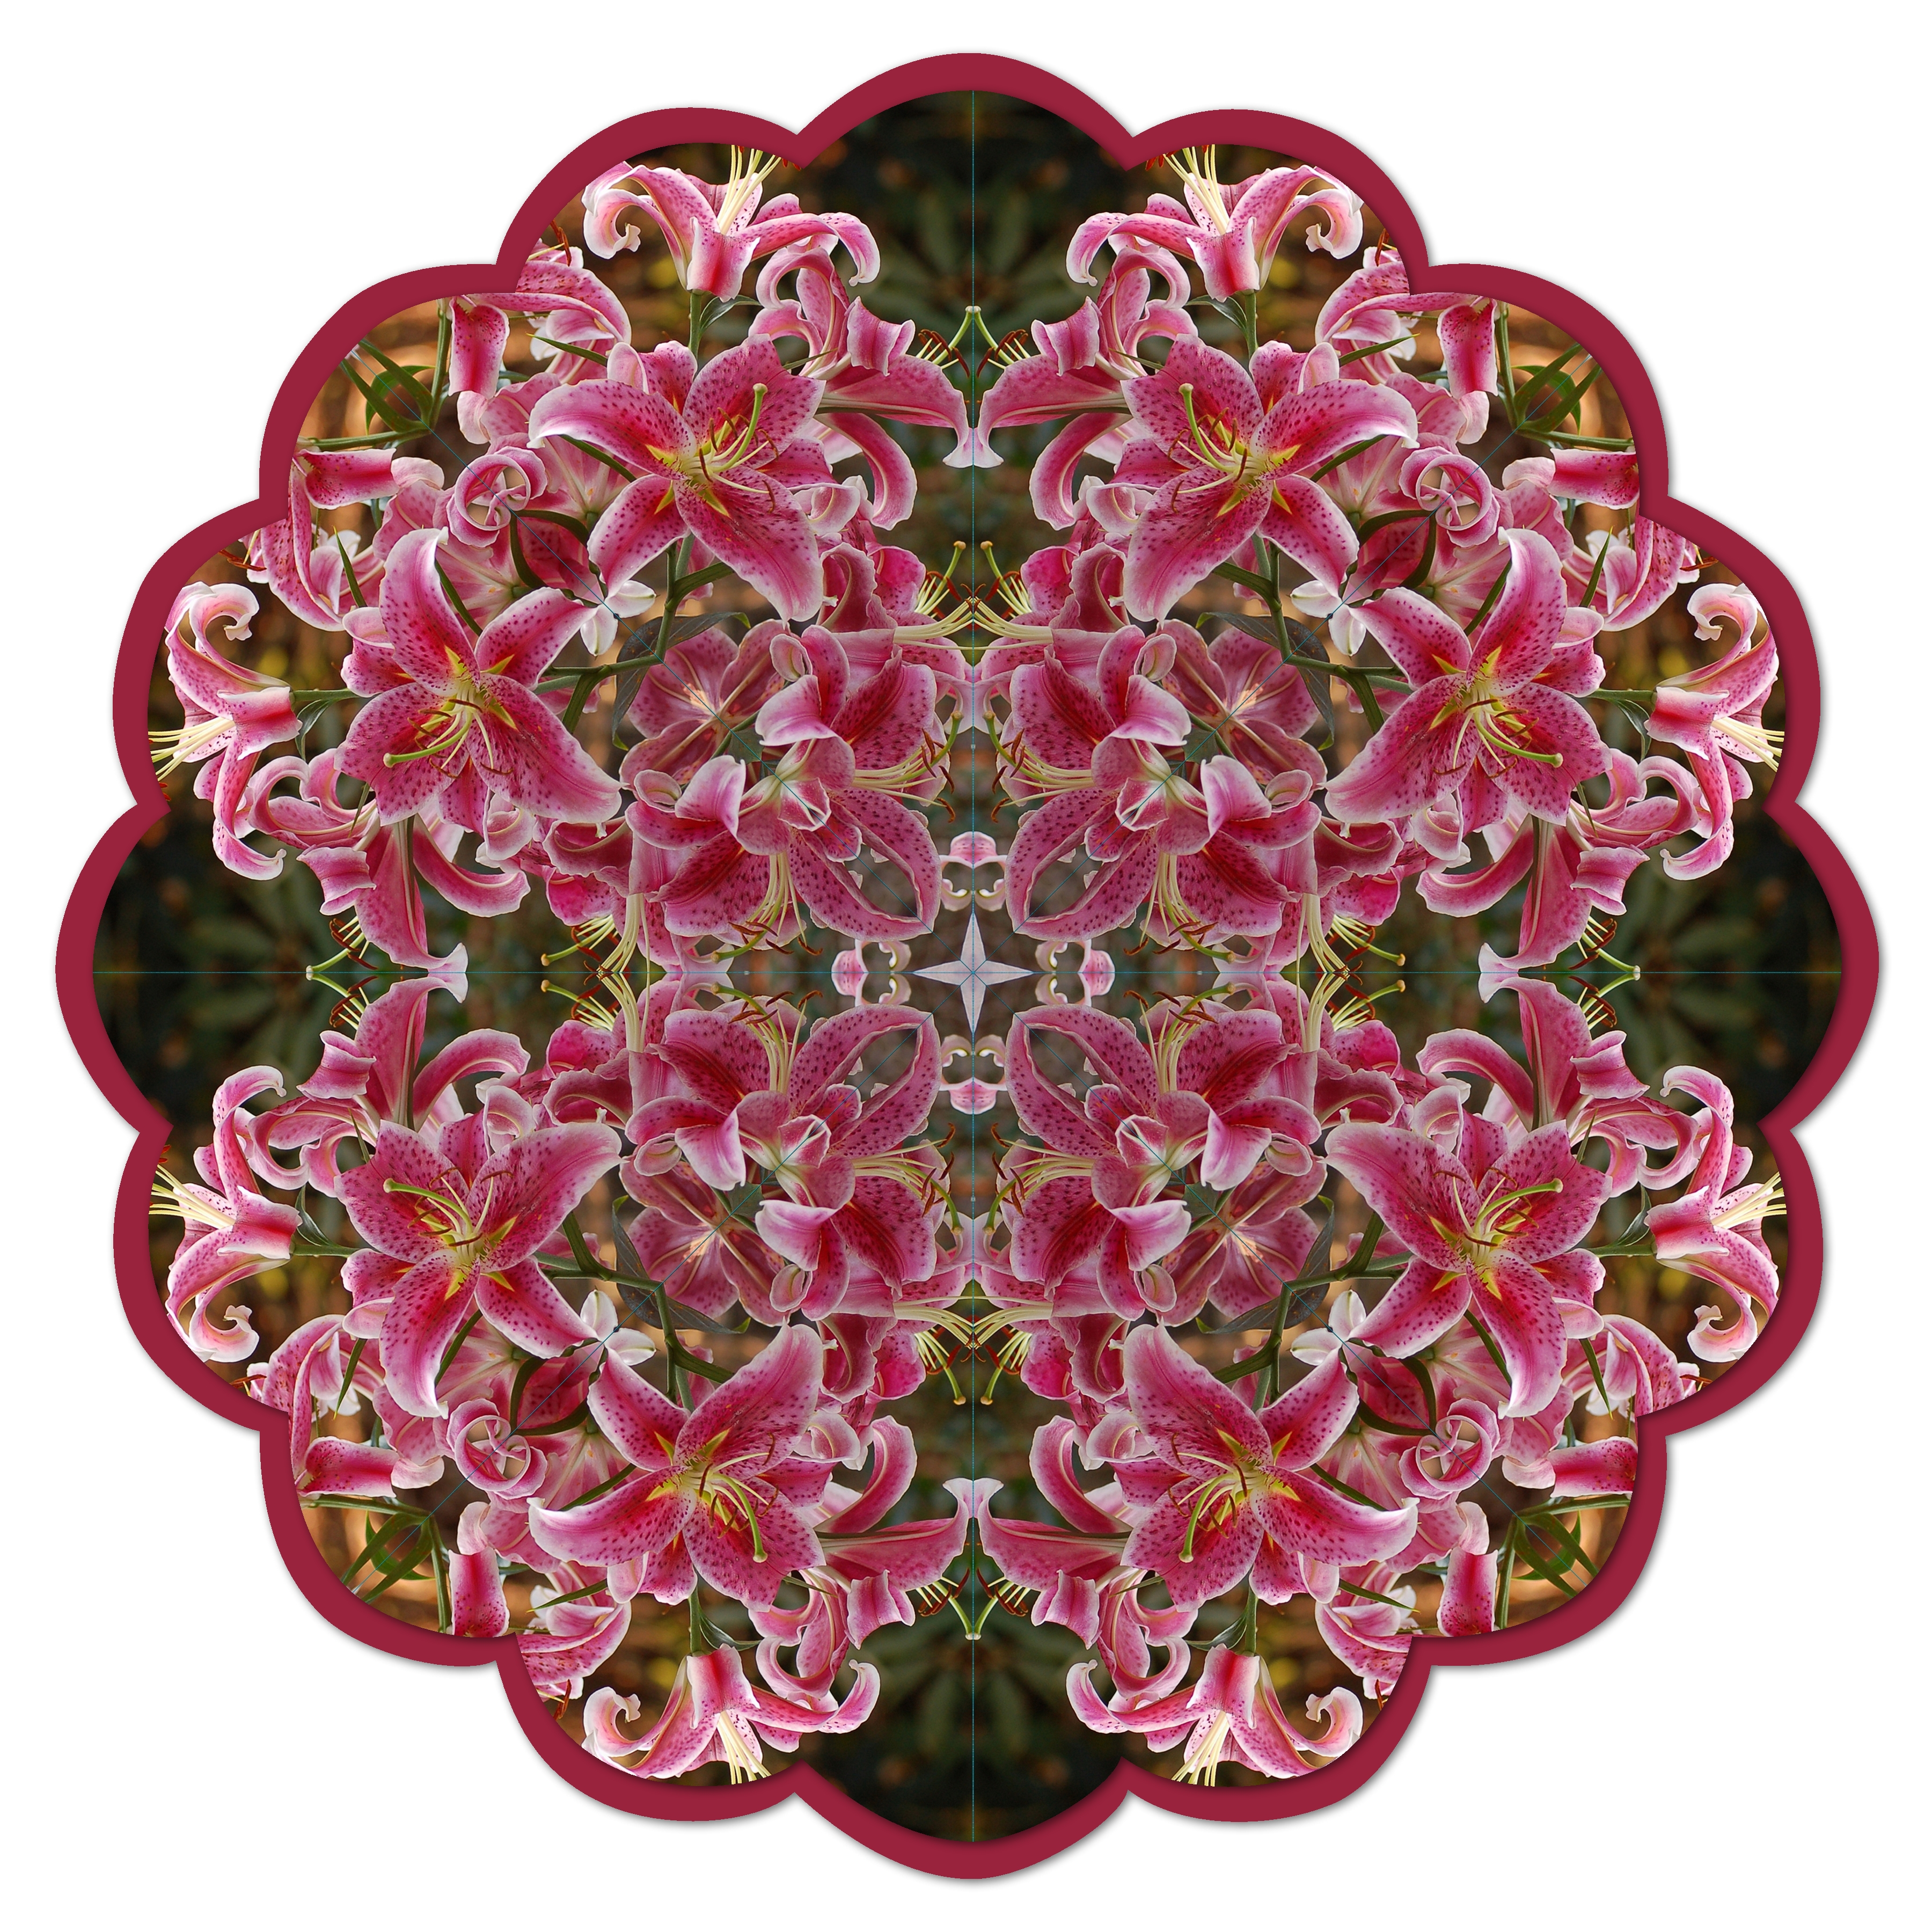
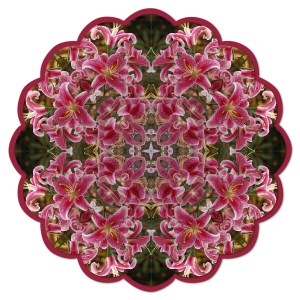 If you want to cut a shape out of the final product, center it on the page and click on the side and top rulers so you will have lines cutting through the middle both horizontally and vertically.
  When you select the shape (Cut & Fill Tab, Shapes) be sure to click on Use Original Aspect and use the arrow keys to nudge the shape cutter centrally on the kaleidoscope.

 The Snipping Tool is on the Task Bar at the bottom of my screen because I use it so often. In my family, we email birthday and anniversary greetings and with 33 of us (and growing!) there are a lot of greetings going around! Gmail doesn’t offer enough fonts for my taste so creating a greeting in Word, and then snipping and pasting it directly into an email, is the perfect option.
 Snipping is an easy way to email Facebook posts to friends and family who are not on Facebook.
 Do you like the Snipping Tool as much as I do?