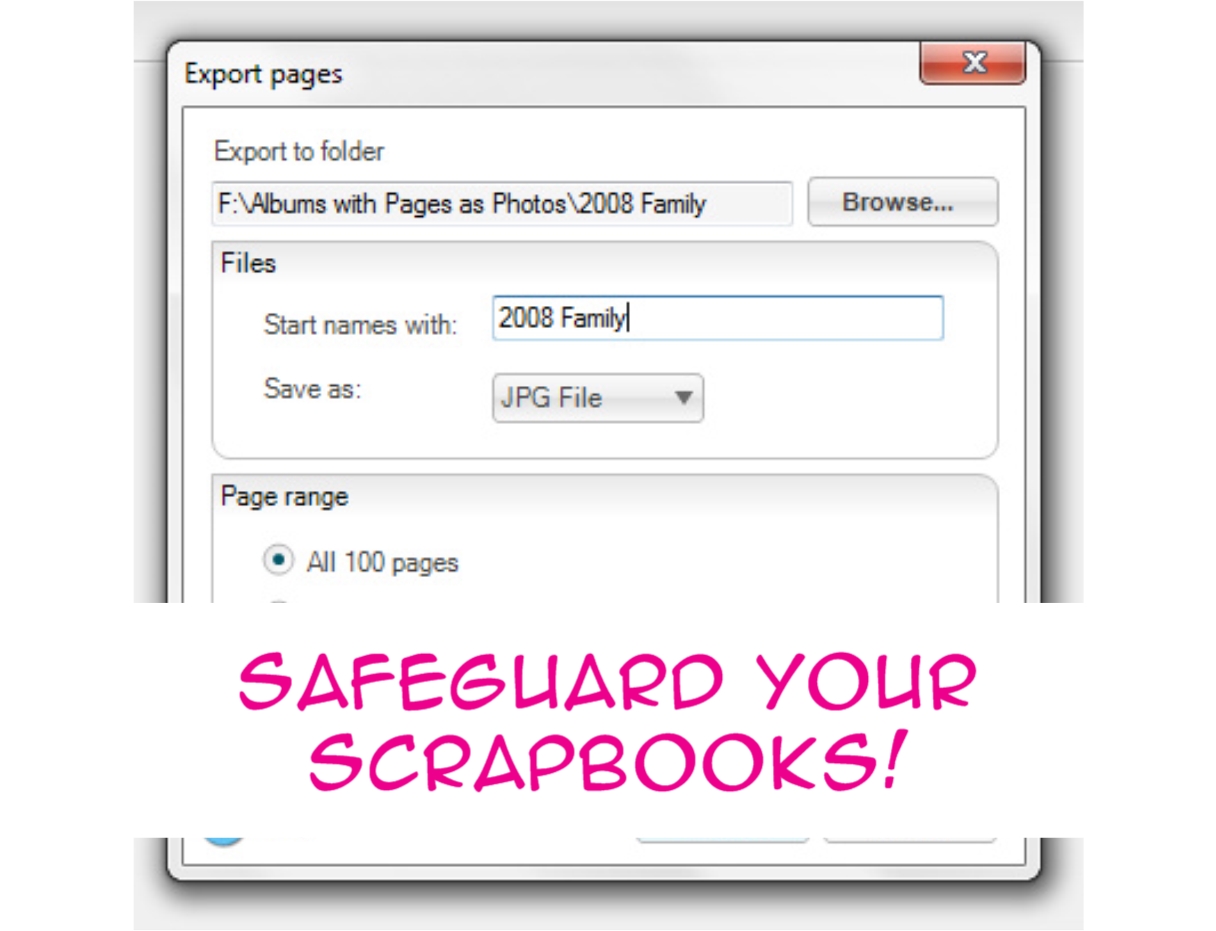
Creative Memories/Panstoria/Forever… whatever it’s called now… keeps sending updates. Updates are good because the features improve but the problem is, if you don’t keep up with the updates, eventually you will not be able to print your albums. In case you ever need to reprint an album, the easiest way to recreate it would be to fill the pages with full page photos (jpg files). That’s why creating JPG files is better than saving the pages in whichever software you were using when the album was created.![]()
- Select the Windows Explorer icon (drawing of 3 file folders) on your desktop. Plug in your back-up drive and on it, create a folder called “Digital Albums as Photos”. Let’s say you just made an album called “2014 Anniversary Trip to Cancun.” In the “Digital Albums as Photos” folder, make a sub-folder entitled “2014 Trip to Cancun” (right click, New, Folder). Minimize the window.
- Open the software used to create this album and then open the project file.
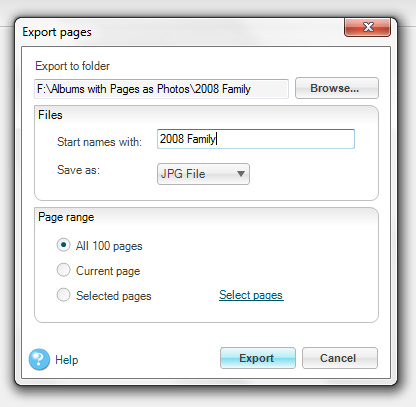
- Save the pages to the new folder you just created as follows: File, Save As, Export Multiple Pages, Browse: select the newly created folder, OK, Start names with: use default, Save As: JPG File, Page Range: All (default), Export, Trim Option: Full Page (default), Resolution: Best (default), Image Quality: High (default), OK.


- Click on the cover and save it as well. File, Save As, Export current page, Export Page To: file name (should come up by default), Browse: select folder (if necessary), Save As: JPG, File Name: Cover, Save, Trim Option: Full Page (default), Resolution: Best (default), Image Quality: High (default), OK.
- Go back to Windows Explorer, open the file “2014 Trip…” select Change your View/More Options in the upper right corner and then select Extra Large Icons.

 Review each page and see if it looks okay. (It’s much faster to click through these image files than go through the pages on the scrapbooking software.) If there is anything you want to change, jot down the page number, go back to the album, make the changes and then save that page as follows: File, Save As, Export current page, Browse: select folder, Save As Type: JPG, double click on the existing page, Replace: Yes, Trim Option: Full page (default), Resolution: Best (default), Image Quality: High (default), OK.


Google offers unlimited photo storage. My next big project is to upload all of these photos of album pages that I’m saving.
To save photos on Google Photo:
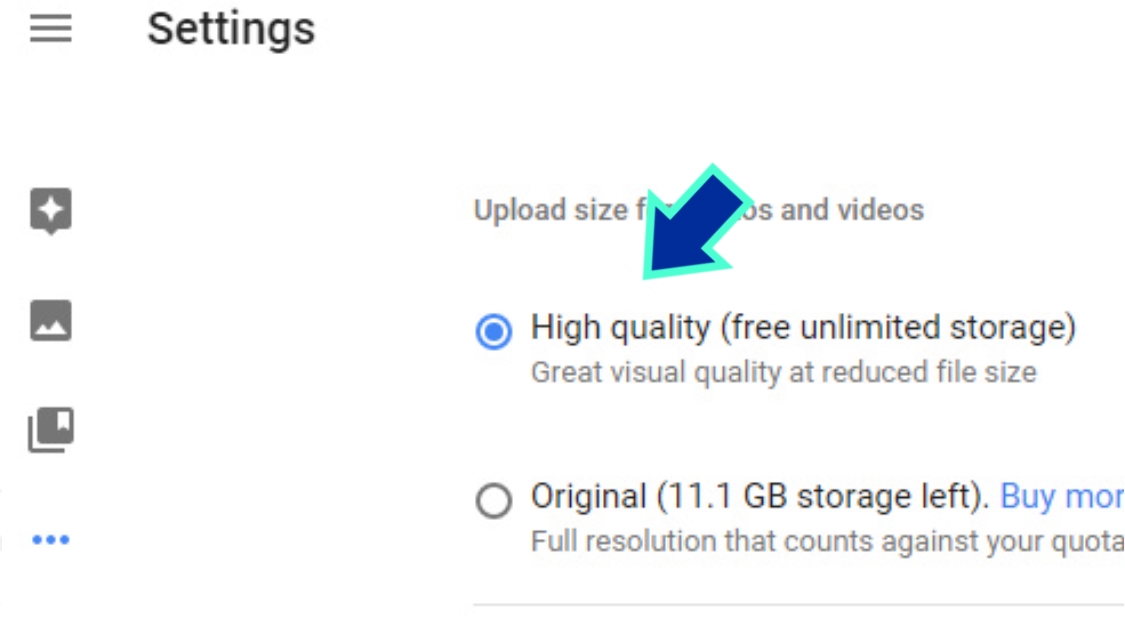
From Gmail, click Google Apps (9 little squares in the upper right corner) and select Photos.  If you are setting up an account, click on the Main Menu (3 little horizontal lines in the upper left corner) and then select Settings and choose High Quality (free unlimited storage).
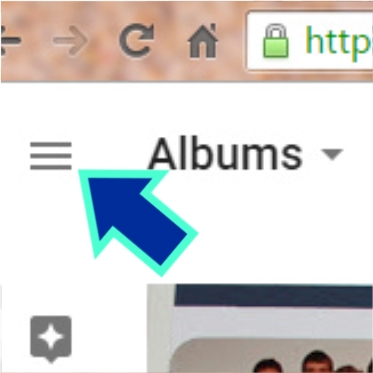
To start uploading, select Upload Photos.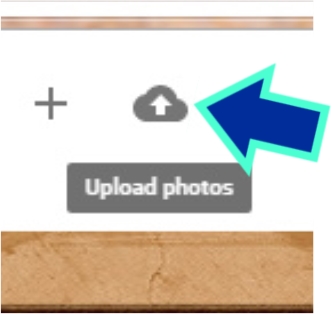 Browse to the folder where the jpg files are, select them (Control A to select all) and then click Open.
When the files are uploaded, the following message will appear.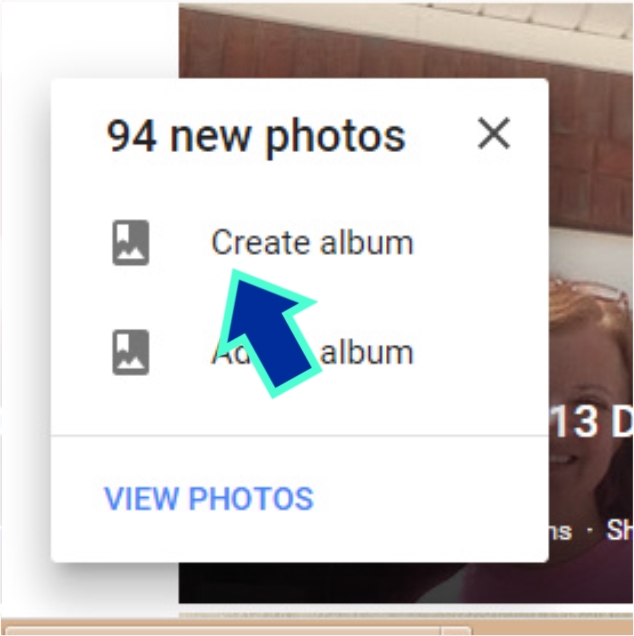
Select Create Album, type the name of the album, Enter, select left arrow to return to the main menu.
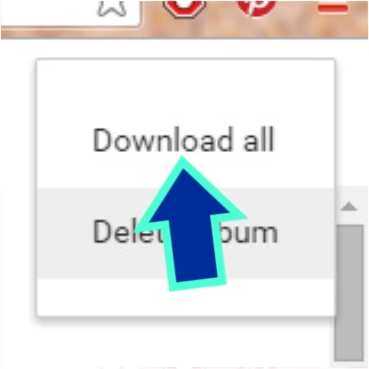
To download the pictures to recreate an album: At the main menu select the album, click on More Options, Download All. 
 The album will be in your Downloads folder which can be viewed in Windows Explorer. Double click on the folder for the album. Select a location for the download (little blue box for more options), then OK.
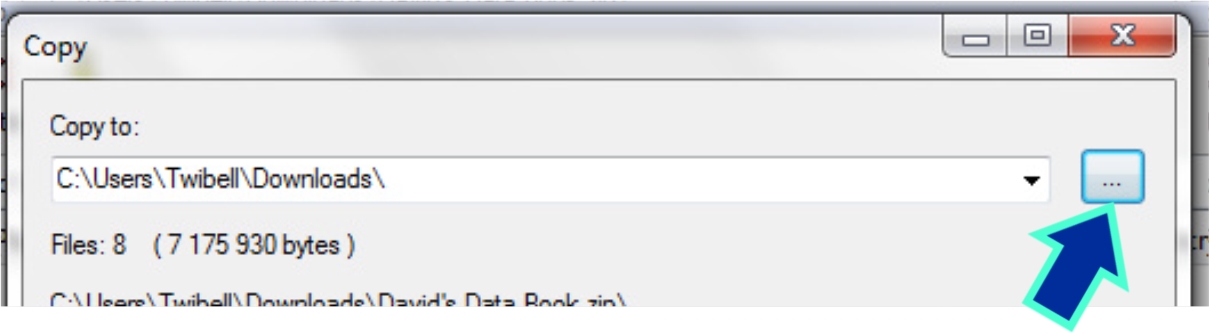
If you are recreating an album then simply fill each page with a completed page photo.
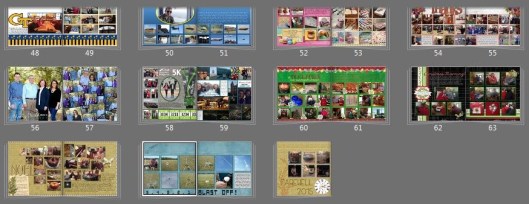
Bonus Tip: Take a screen shot of your pages in the album and save this photo with the album page photos. It will make it a lot easier to put the pages in order, should the need arise.