
Tags
 I have recently been trying to figure out this whole shape creation thing. Here’s an example that I hope will inspire you to create your own shapes!
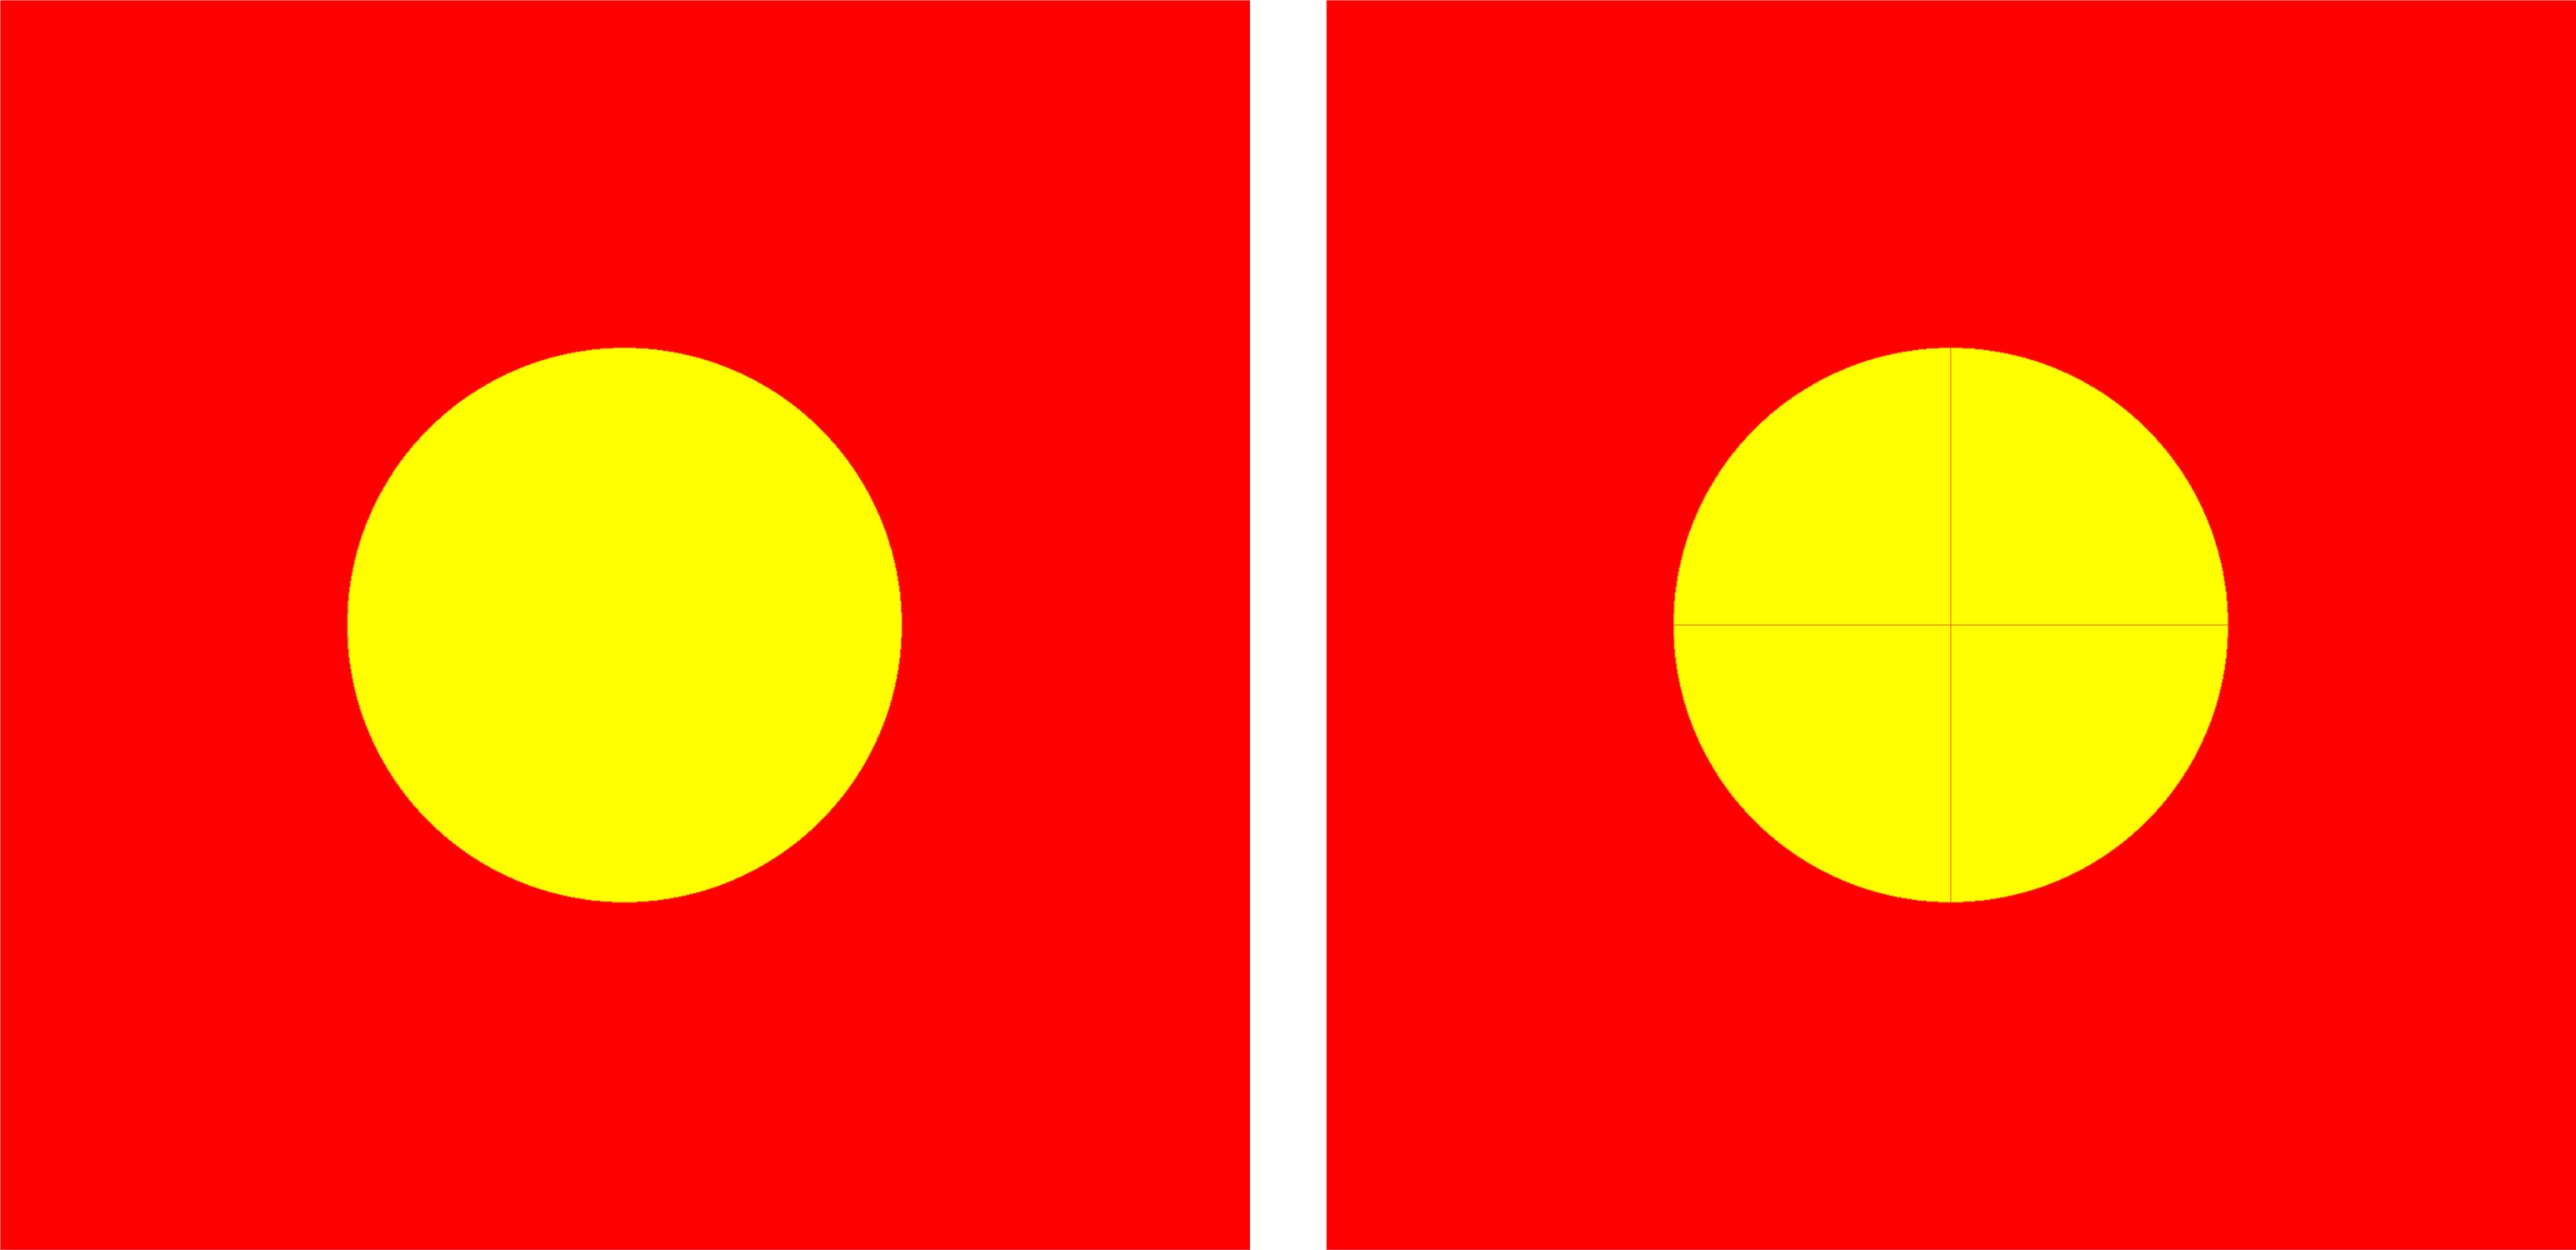
Insert, Content Shape, From art kit, select square. Insert, Content Shape, From art kit, select circle (fill with a different color). Hold down the shift key to make it smaller without losing the original perfect circle aspect ratio.
Select the circle, Cut & Fill, Grid with 4 squares, spacing set a 0, OK.
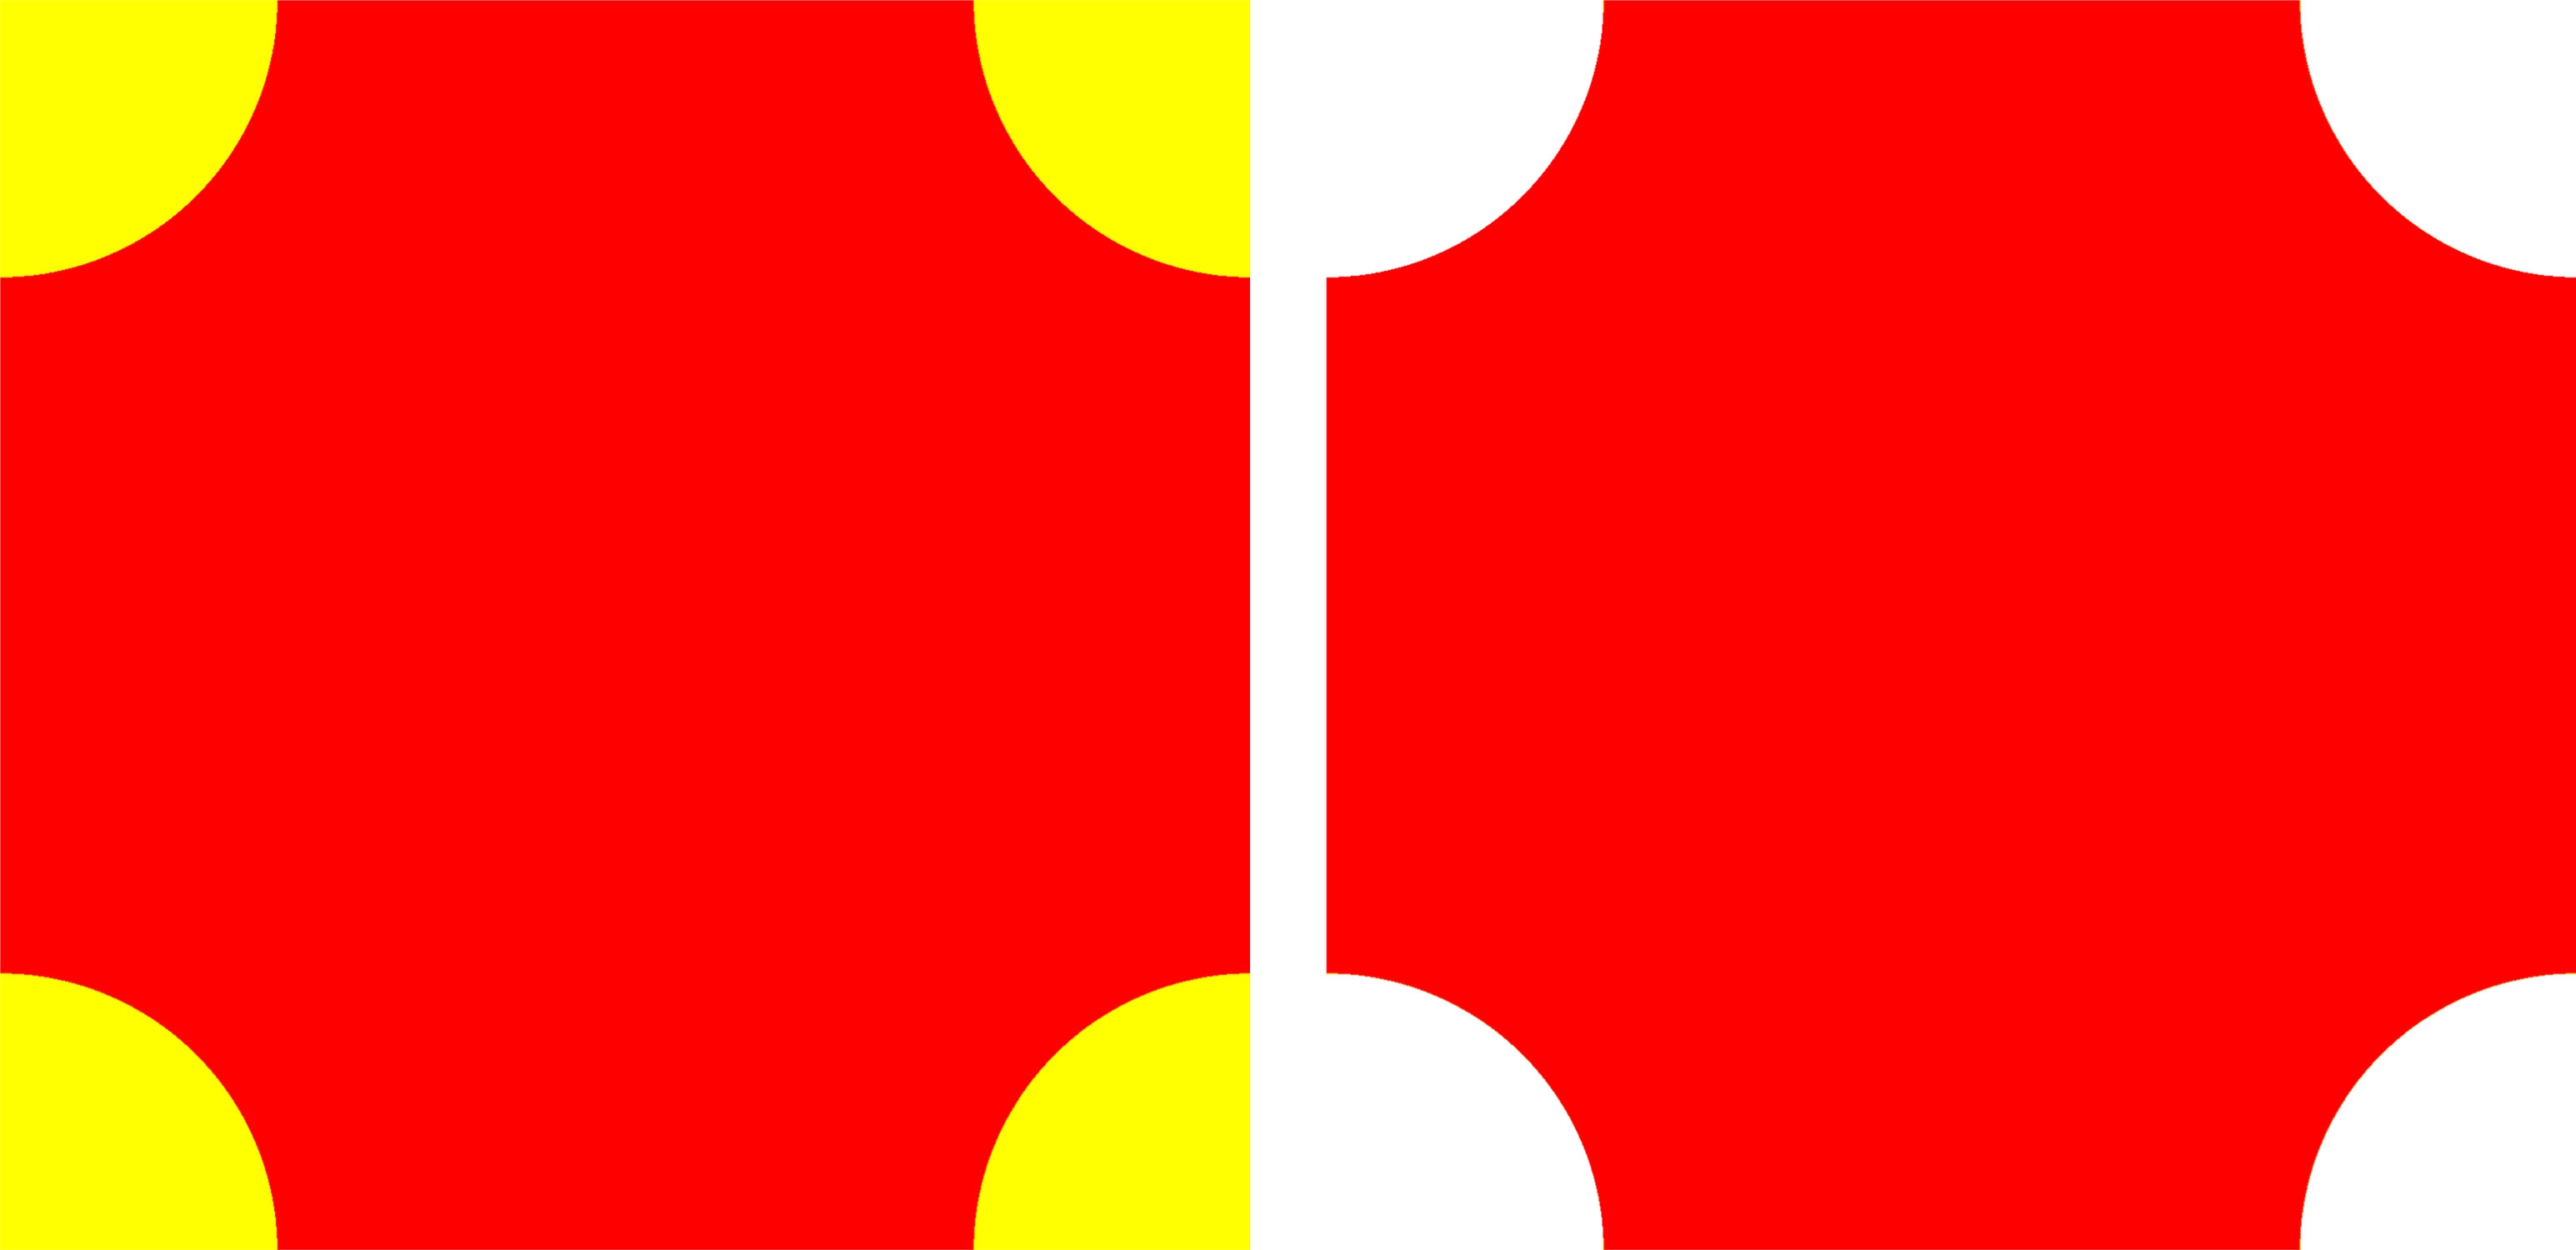
Move the yellow quarters to each corner of the square using the options under Align to get them just right. Select all five pieces and Flatten (Arrange tab) so they become one element.
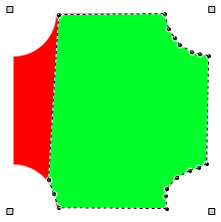
Select Cut & Fill, select Wand and click on each yellow section (hold the Shift key to select more than one section at a time) and cut. Unfortunately, sometimes a little bit of clean-up is needed after cutting shapes like this. If you still see a faint outline of where the circles were, remove them using the Cut & Fill tab.
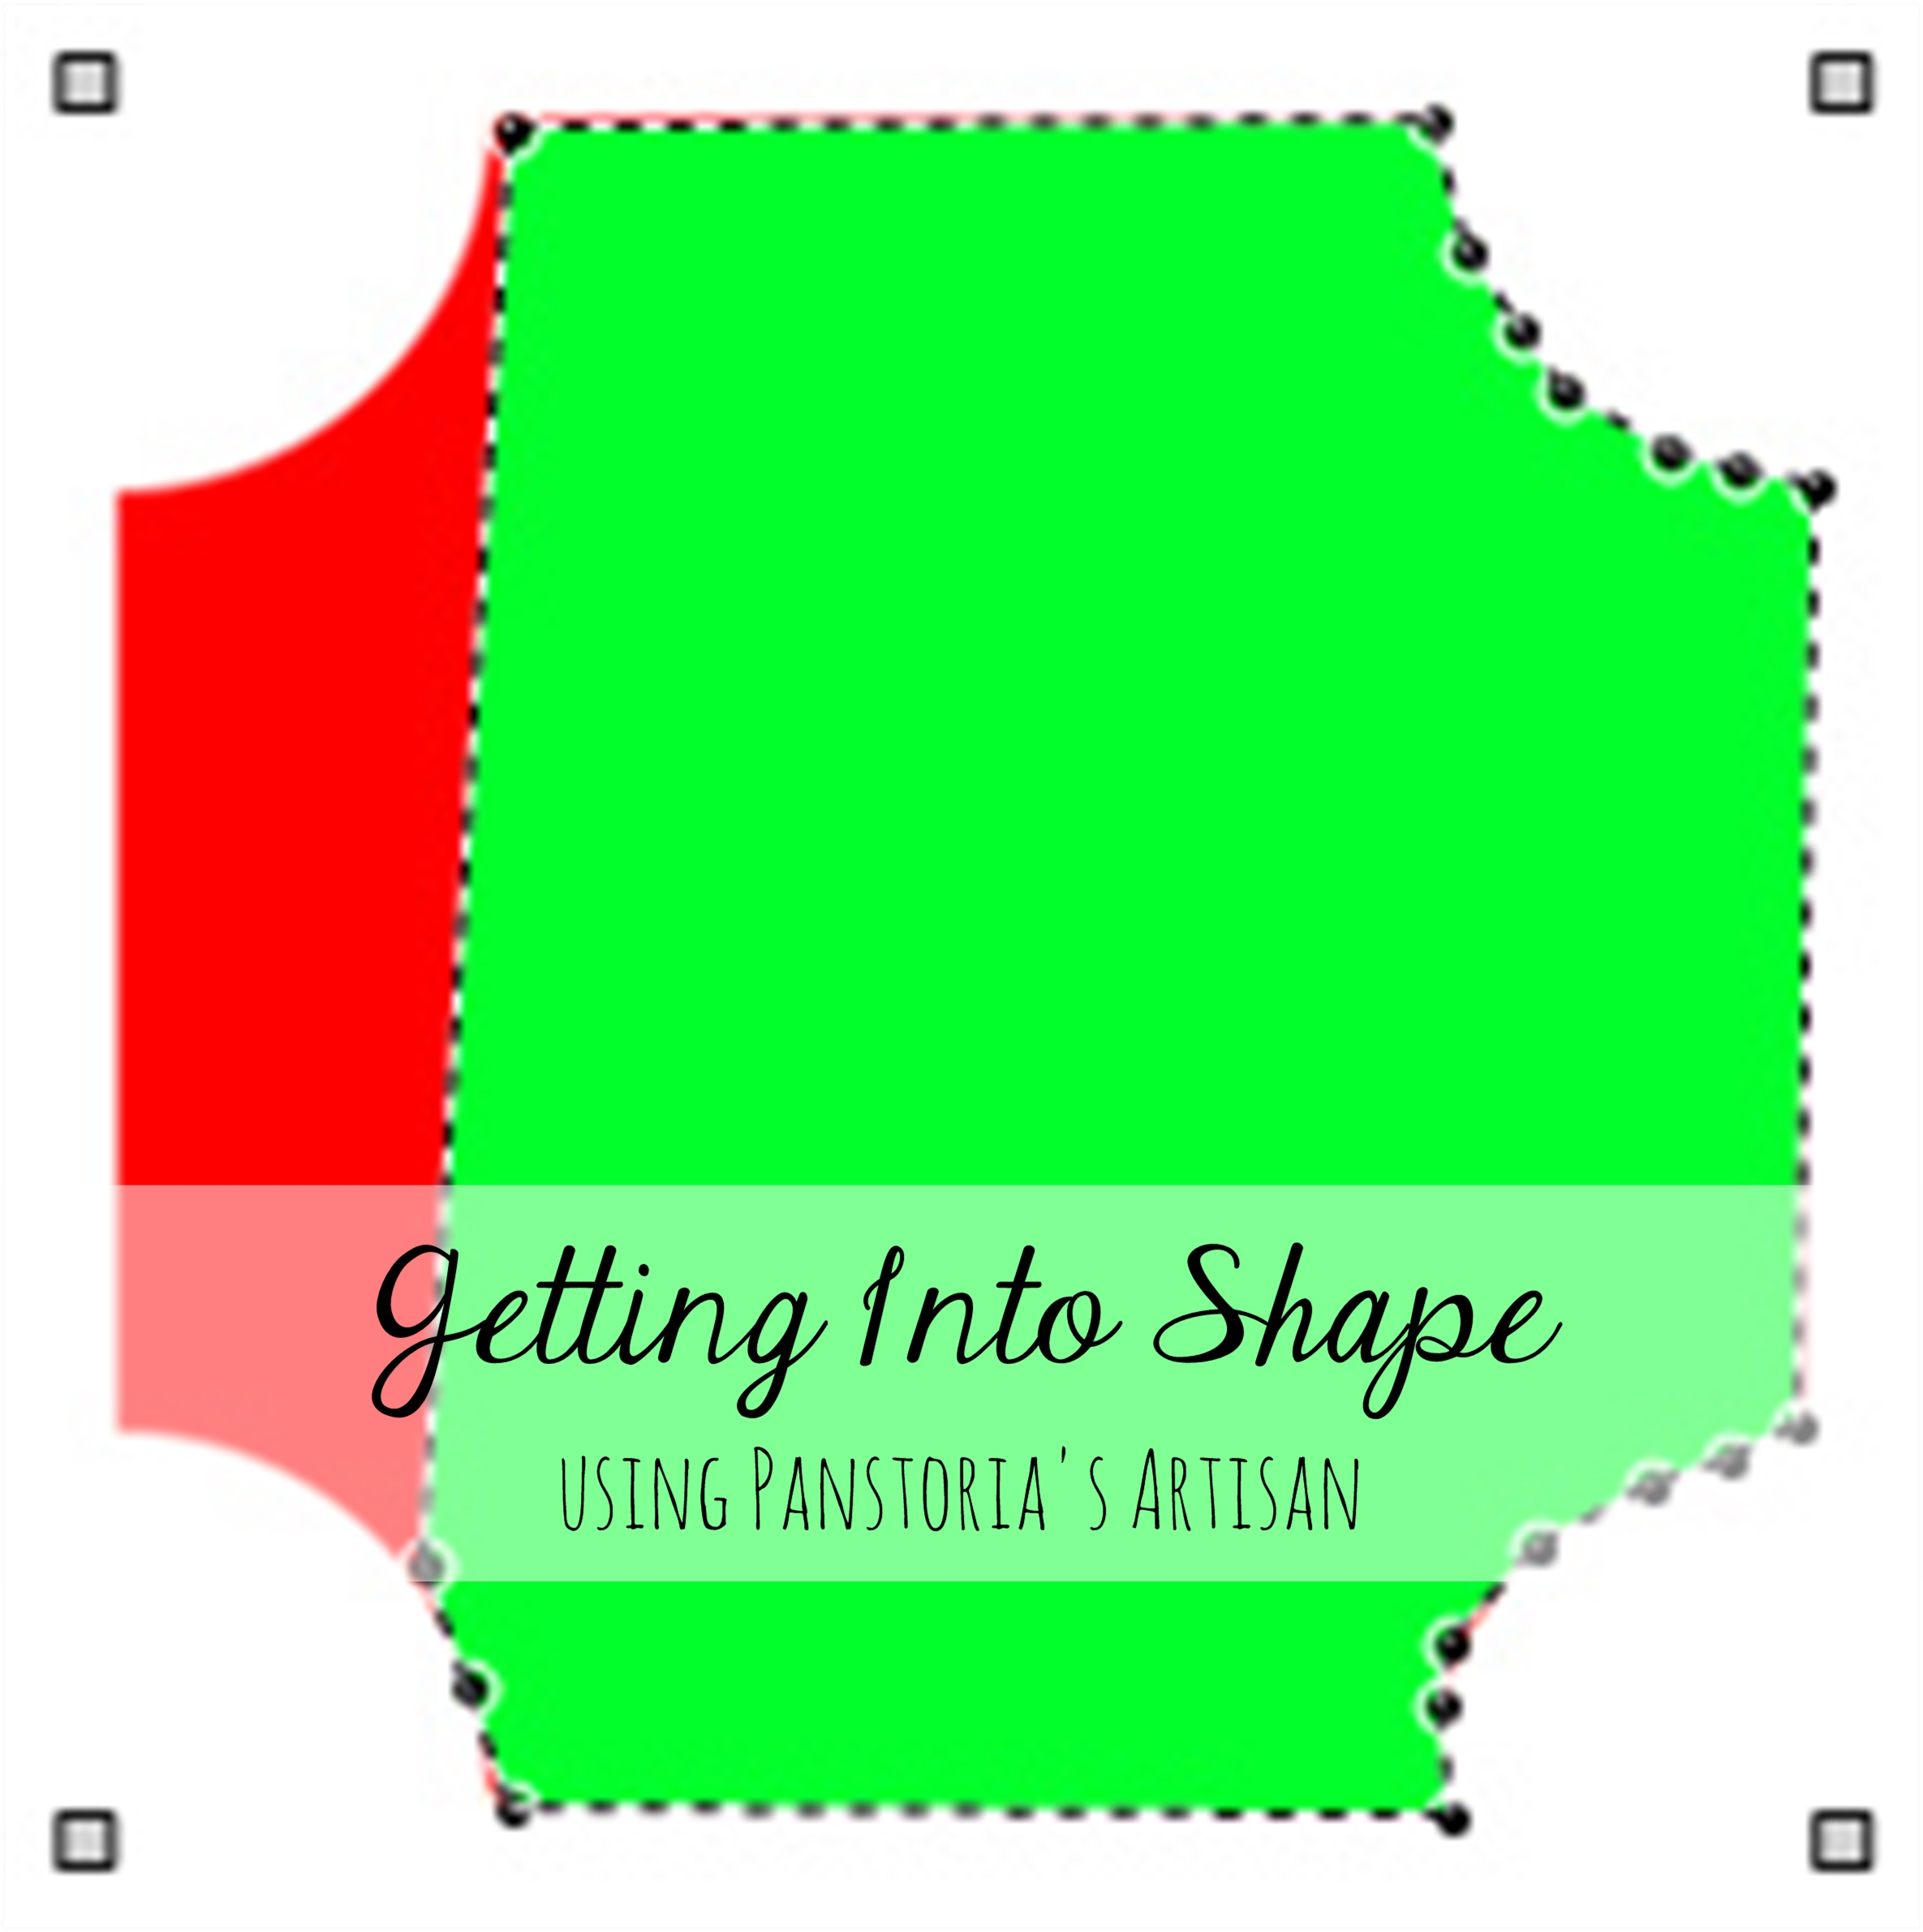
Now that the template has been created, it has to be re-created to be saved in your Shapes file.
Insert, Shape, Custom shape using straight lines. Recreate the shape by clicking around the perimeter. Make sure to select a different fill color so it will be easy to copy. It doesn’t have to be perfect at first. Zoom in to 200% to edit the points more precisely. Before clicking create, select Save in Personal Art Kit. (This does seem like a bit of work but it’s easier than using the Shape Creator in the Content Manager.)
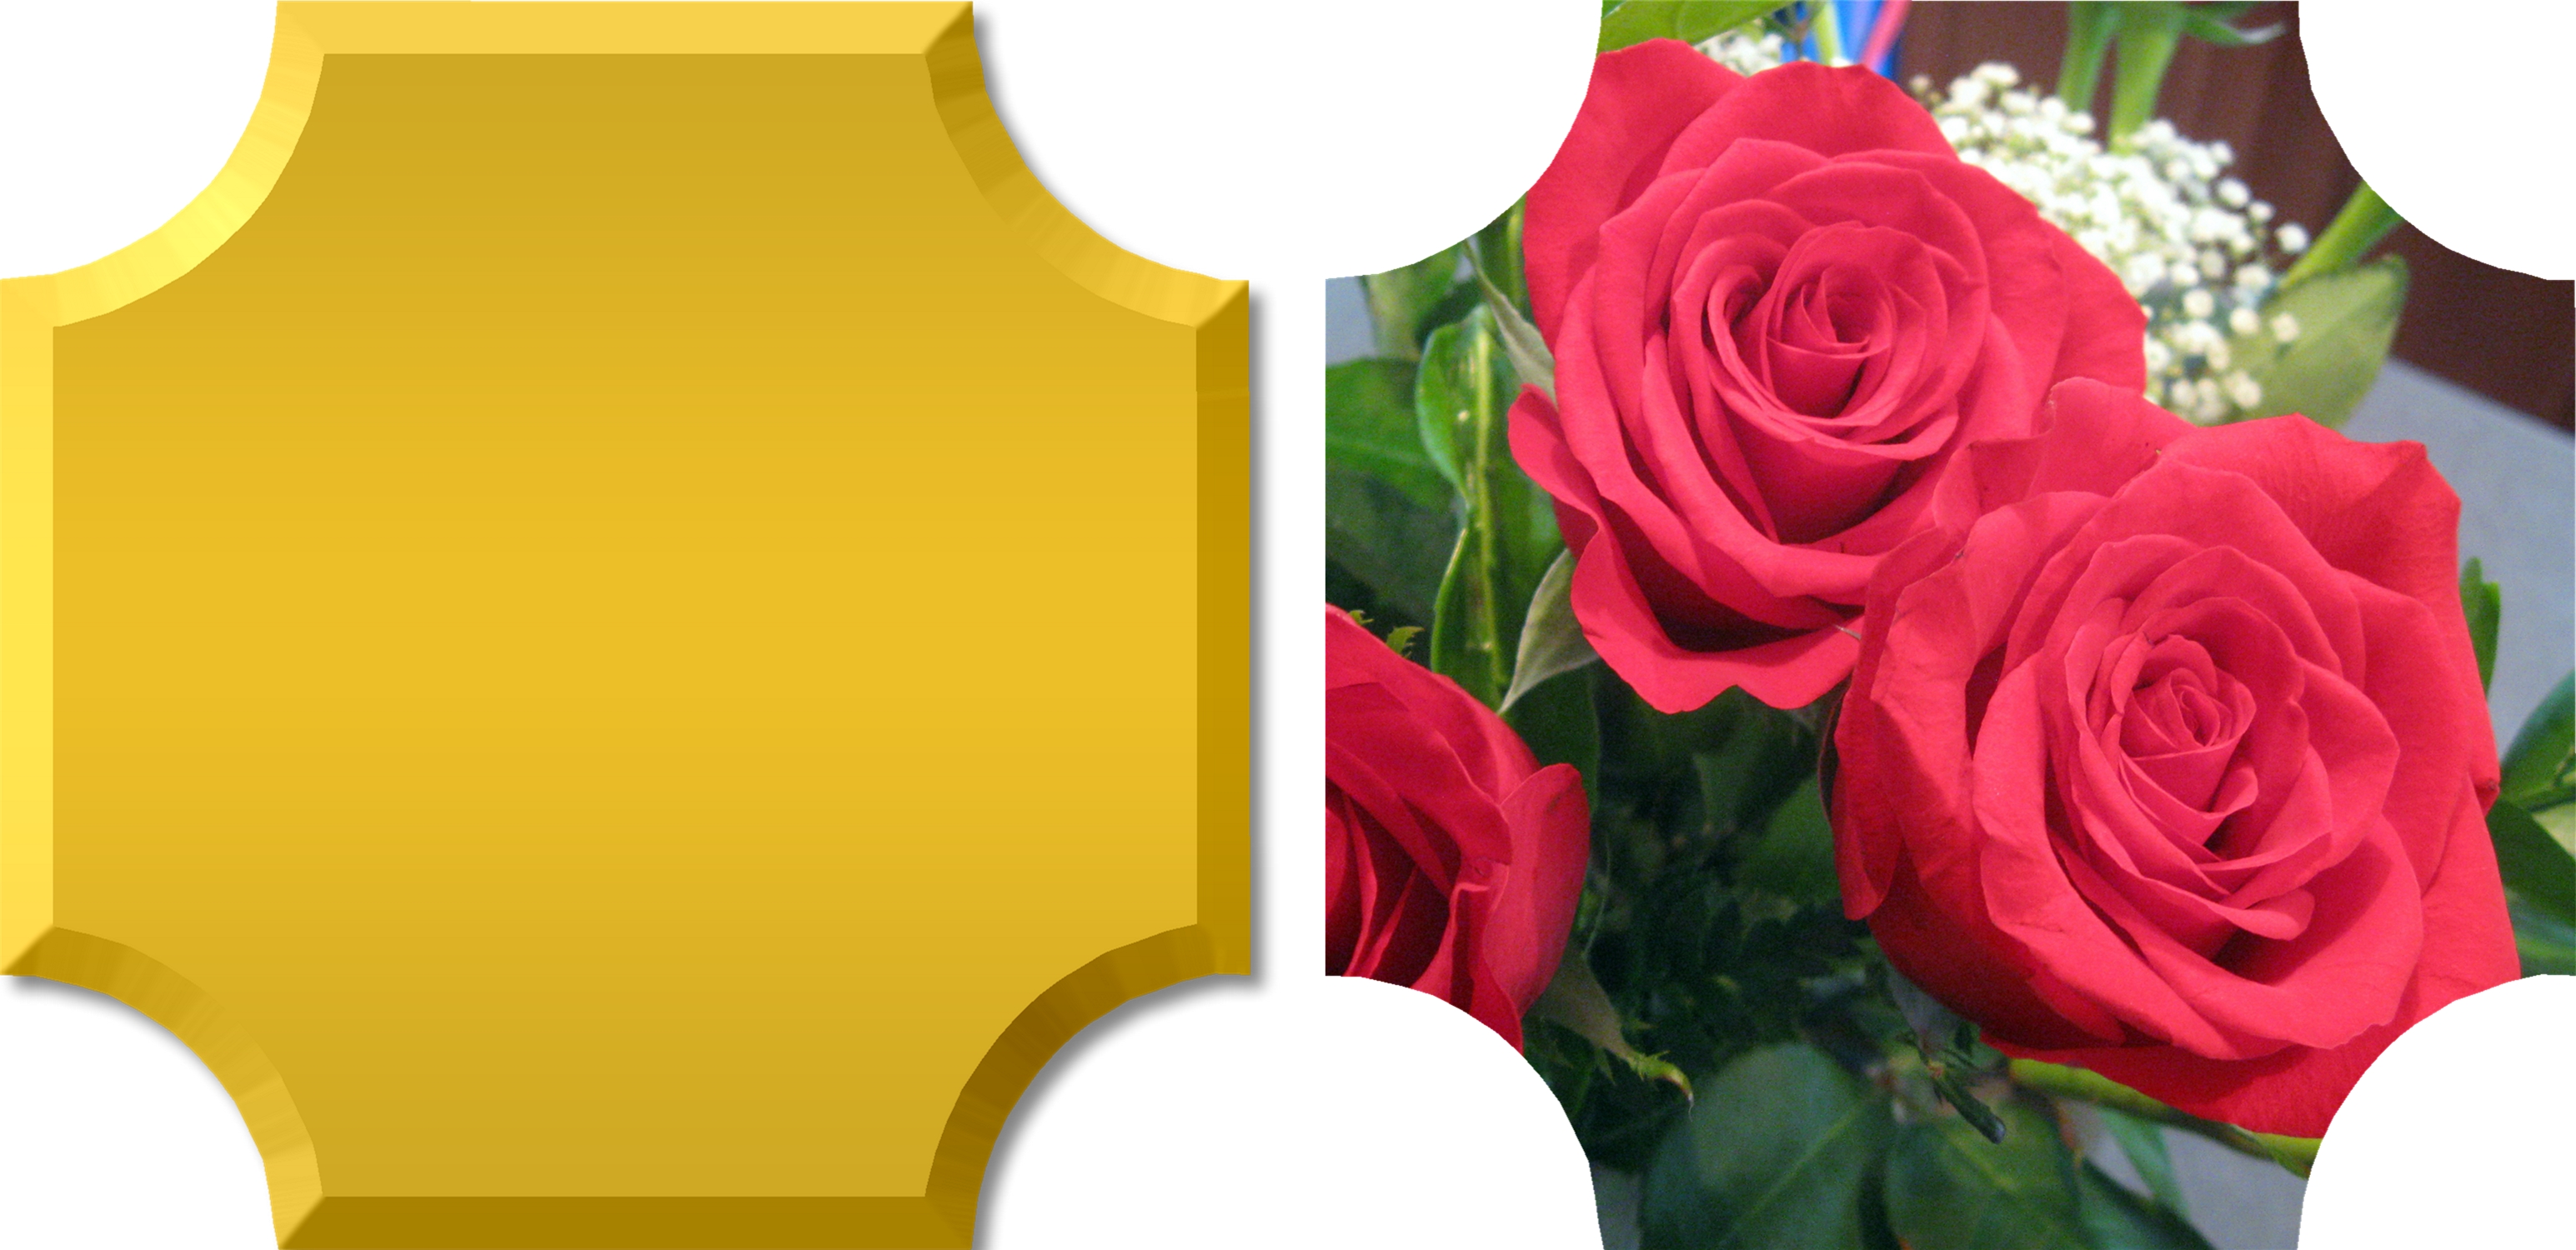
To use, click on the Content tab (right side of screen), go to your content and you should find it in Shapes. For this example, I filled it with a gradient (Cut & Fill tab) and added a 3-D edge (Format, Filter) and a shadow.
If you want to make a photograph this shape, select the photo, Format Photos, Select Mat, make the mat fill transparent and select this shape from the cutout option. The nice thing about shaping your photo this way is that it maintains the qualities of a photo and you can crop, zoom and move it around to get it just right. If you want to mat it, use a two or three-mat option but the largest mat always needs to be transparent. See my post regarding shapes and this post specifically about round photos for additional details.
