Cramming a year’s worth of photos into 100 pages (although I have to admit that the number of pages is going down as my children get older) requires layouts that often have quite a few photos. In fact, if I’m scraplifting (using someone else’s layout idea), I’ll often replace the size and location of one of their photos with four or more of mine but there’s a bit of a challenge in making it all look just right.
Each photo needs to have dimensions that are divisible by 1/8″ (right click the photo, Properties, and adjust the measurements to end with .000 or .125 or .250 or .375 or .500 or .625 or .750 or .875) so you can use the Grid Snap option (View, Guides, Grid, Select Show Lines, Select Snap to Grid, Select a color that will show up well, Select 1/8″ for Grid Spacing, OK). Zoom in and move the photos to be right up against each other. If you like photos and elements to line up nicely on your pages anyway, then you will use this tool a lot!
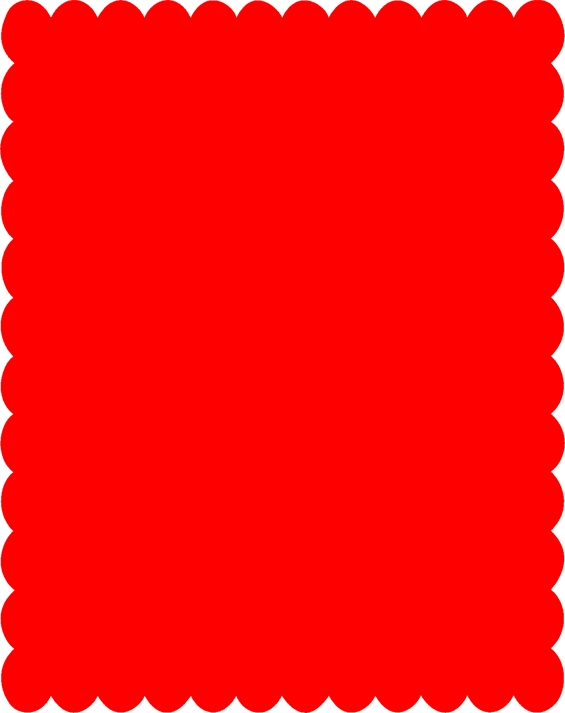
Th problem with placing photos right next to each other and then matting them (Format Photo, Select Mat, choose from the various options), so you can see the individual photos, is that the outside border is half the size of the inside borders. This is just wrong!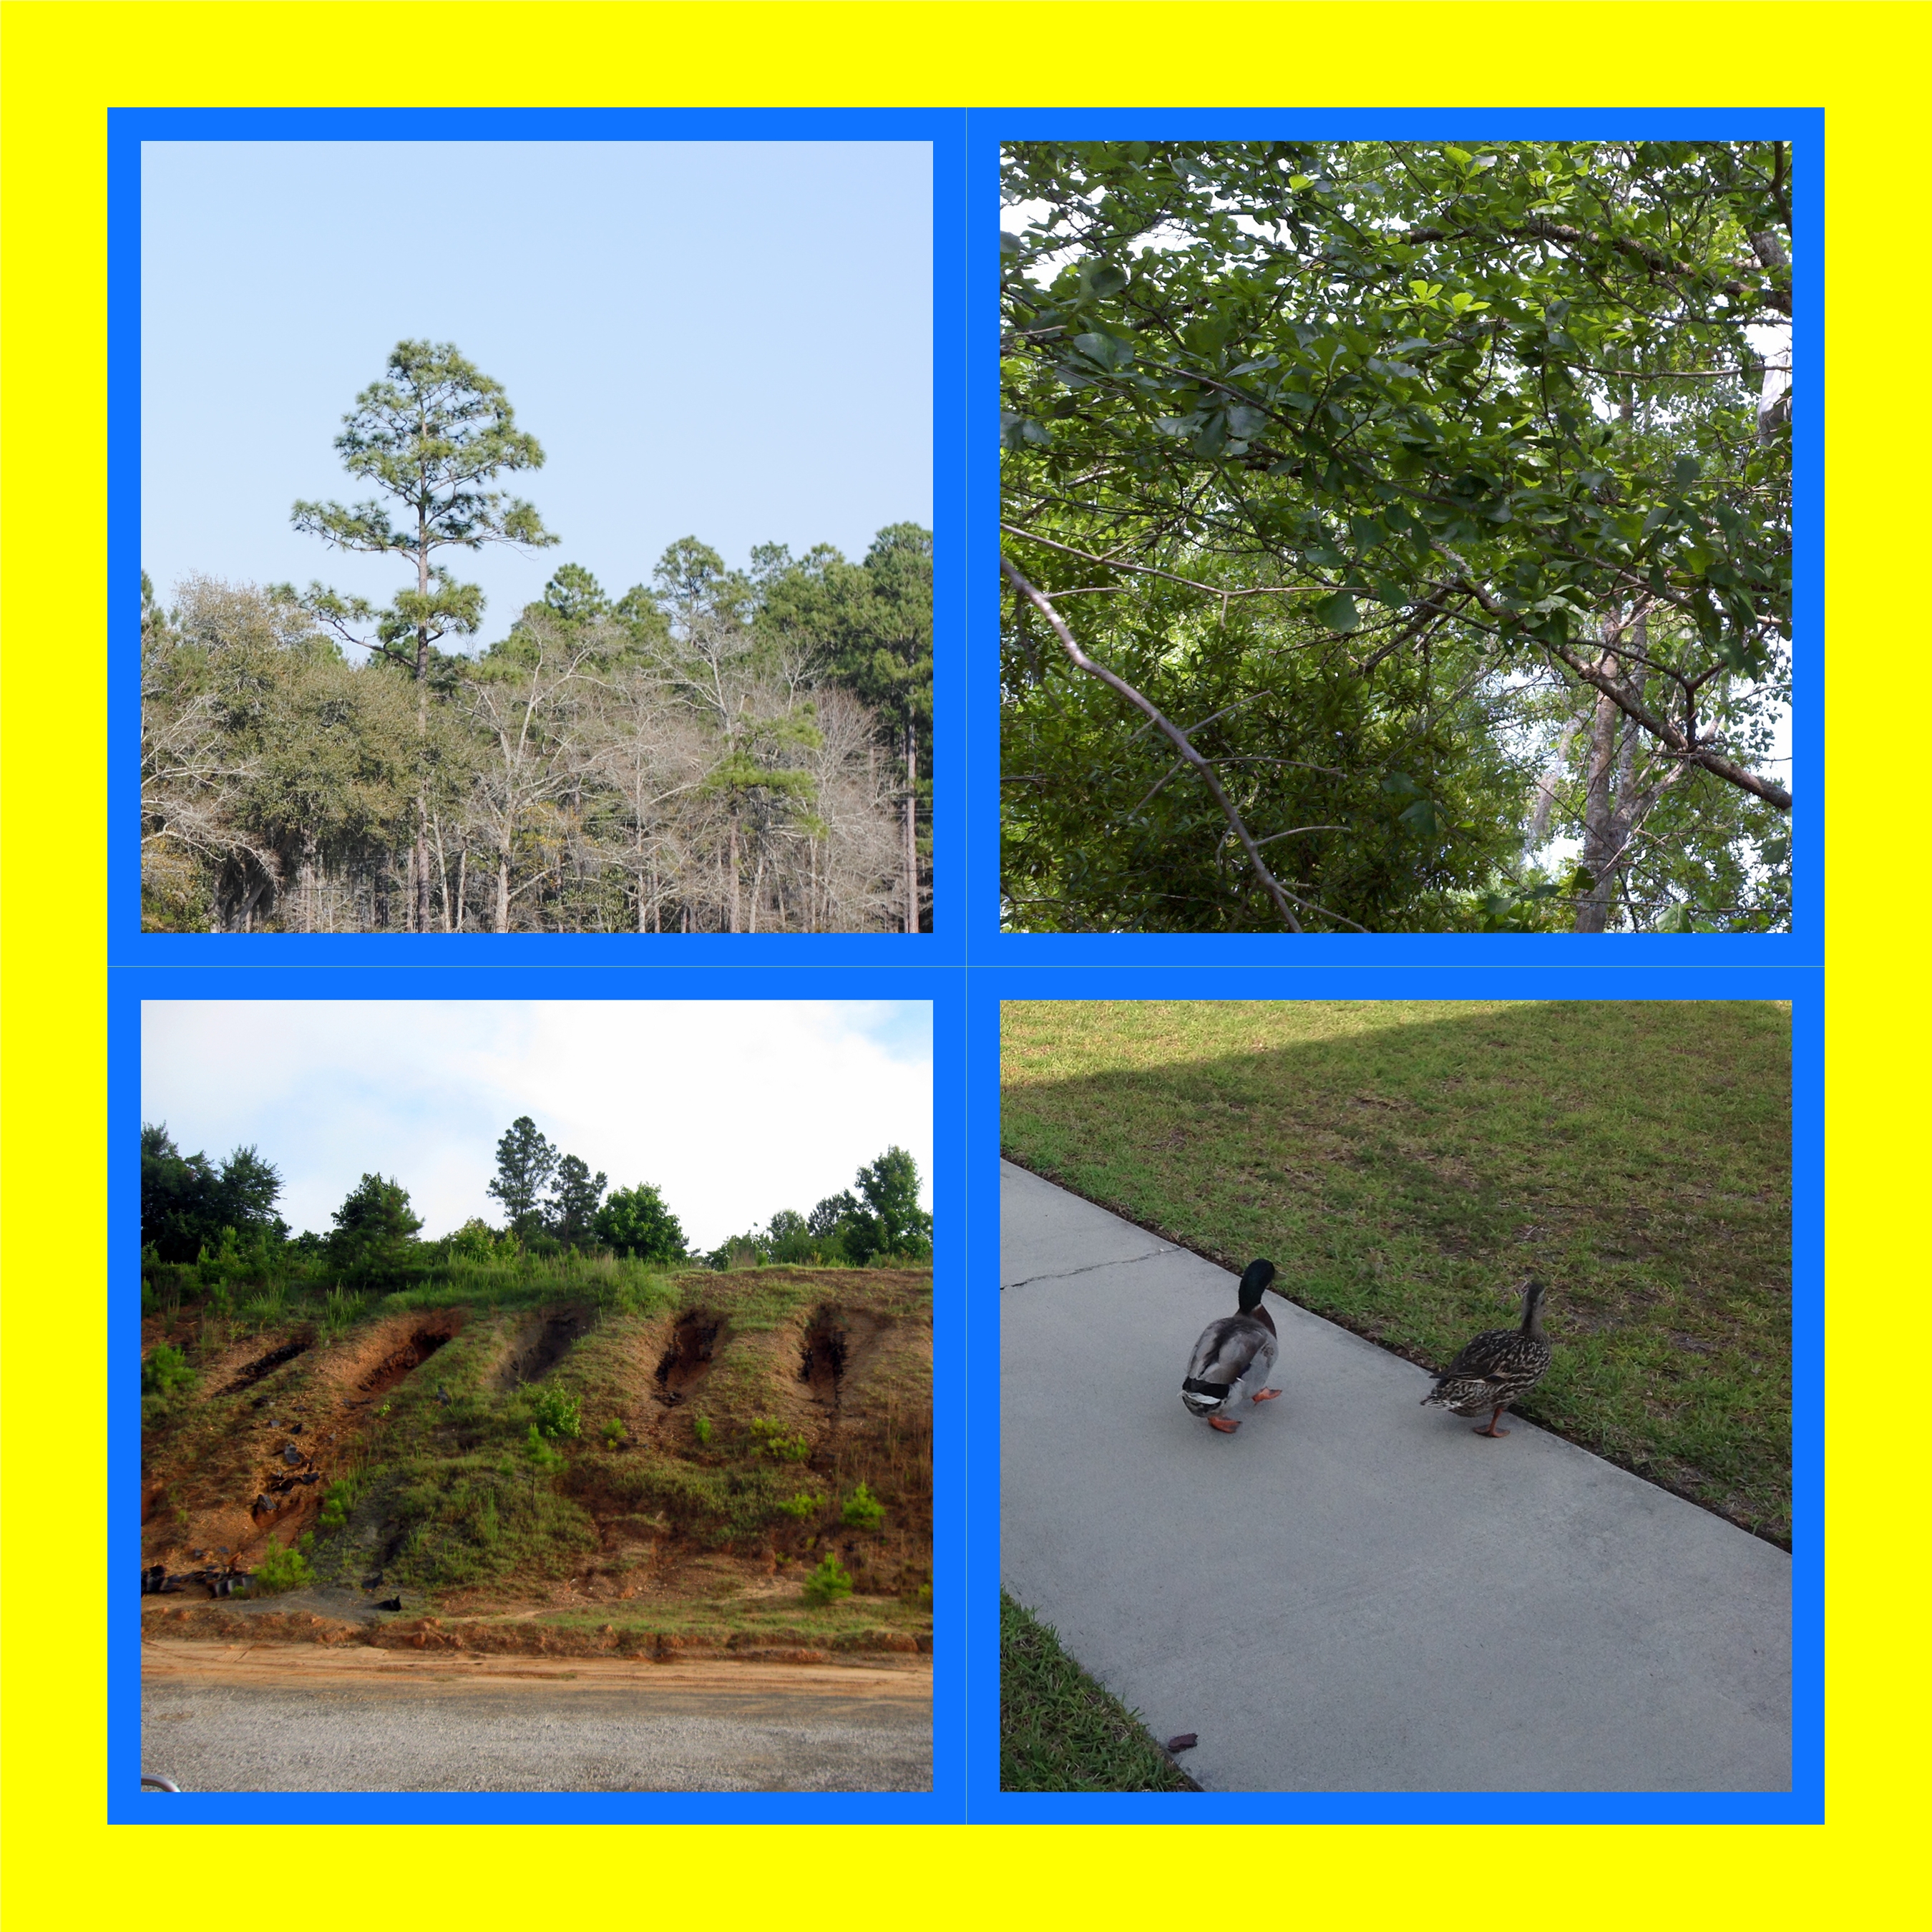 Here’s an easy fix: First, make the mats different colors (Format Photo, Select Mat, Mat Fill).
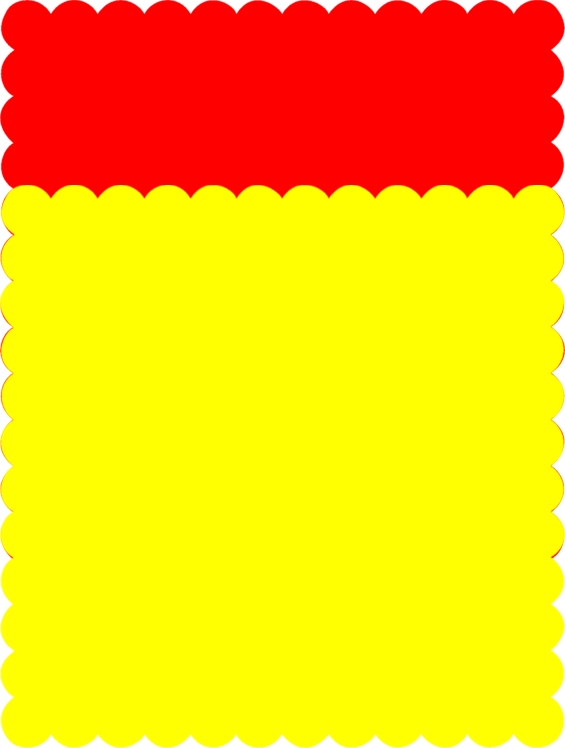
Second, zoom in and, using the arrow keys, move the photos so that the interior frames completely overlap each other.
In this example, move the green mat to line up exactly under the blue mat and then use the Align tool to make the purple mat line up with the green one. Use the arrows to move the red mat up under the blue mat and then use the Align tool again to move the purple mat up.
Third, change the mats so they all have the same color. That looks sooo much better!